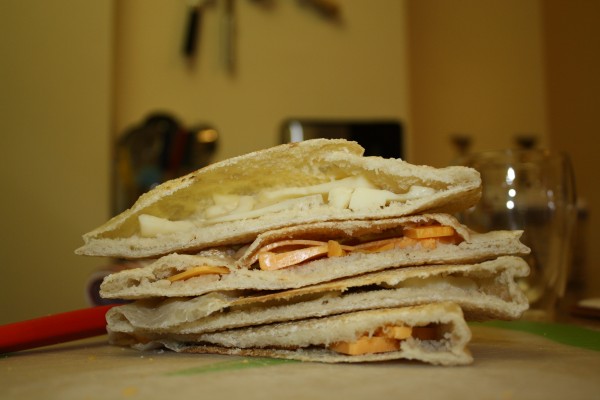
Pita bread isn’t hard, and it’s much better that the kind you can get at the supermarket (but not better than Shore Pita. What’s their secret!?). The photo below is my Syrian bread grilled cheese for dinner Monday, but before that I also used it for hamotzi on Friday night and with eggs for Sunday’s breakfast.
What I did was only make half of the dough, and then I refrigerated the other half and flattened, cooked and ate as I needed. It’s really great to be able to make fresh pita on the spot, so I’m going to start making this dough more regularly! Like most breads, you have to wait and knead, so it’s time consuming, but definitely not hard.
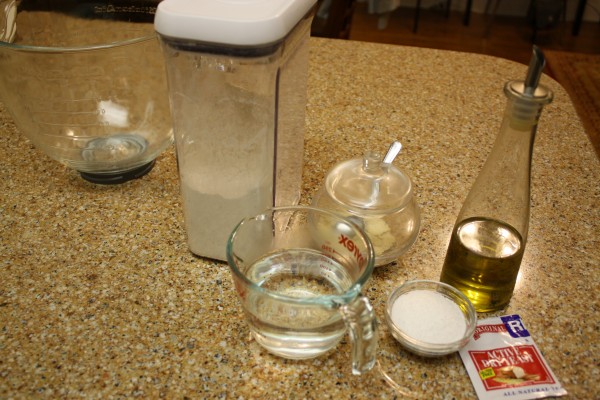
I like to have all of my ingredients ready before I start. Just in case I forget something, it’s better to know now than later and have to run to the store and in the mean time ruin your bread!
Yikes, don’t judge my crumby counter! It’s never like this, except for after kneading dough on it. I should have wiped it down before photographing!!
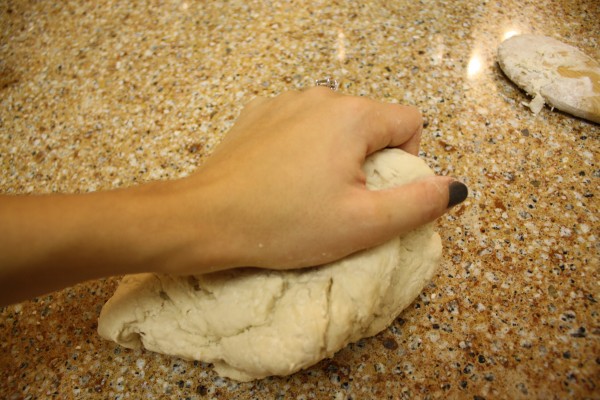
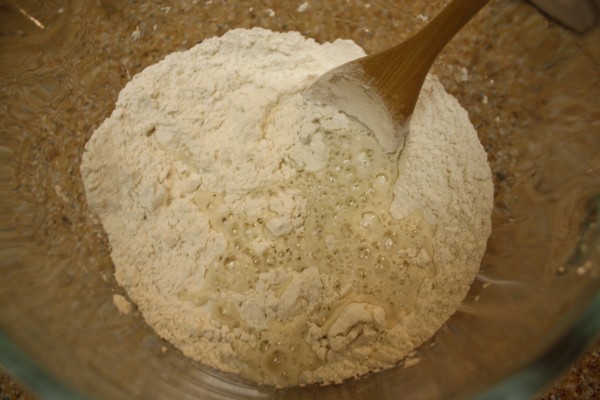
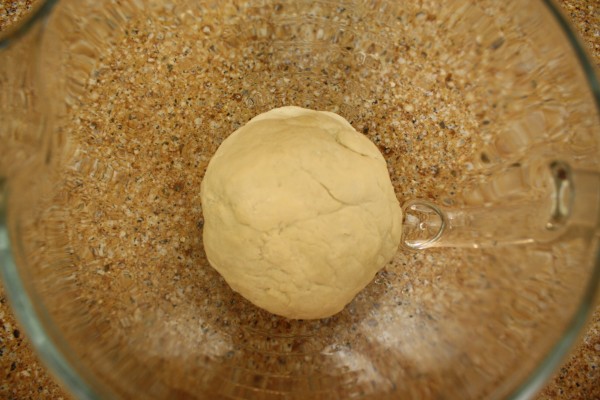
Even though I used the bowl for my food processor, I kneaded with my hands. That glass bowl living on my counter is just more accessible than the ones in the cabinet I can only reach if I stand on a stool.
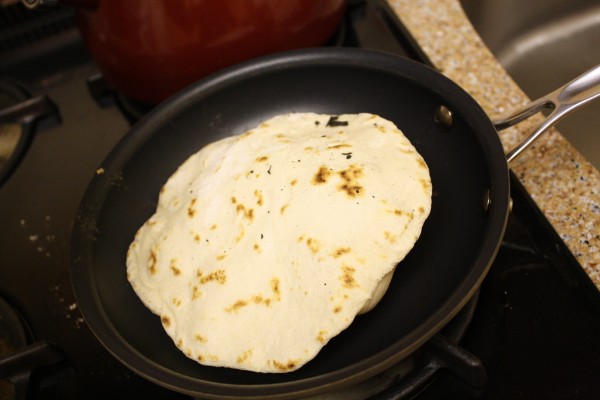
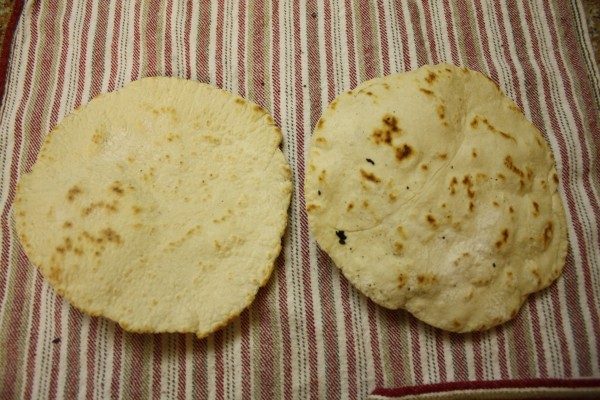
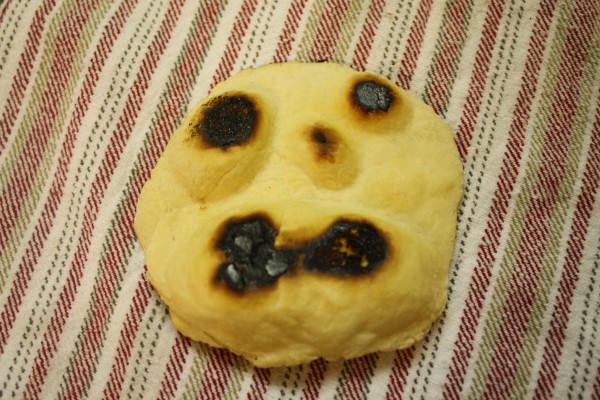
The charred parts aren’t burnt, they’re extra tasty!
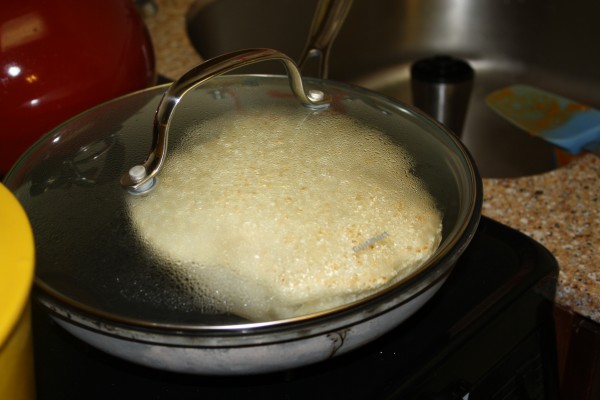
Look how much they’re puffing up! It’s like magic.
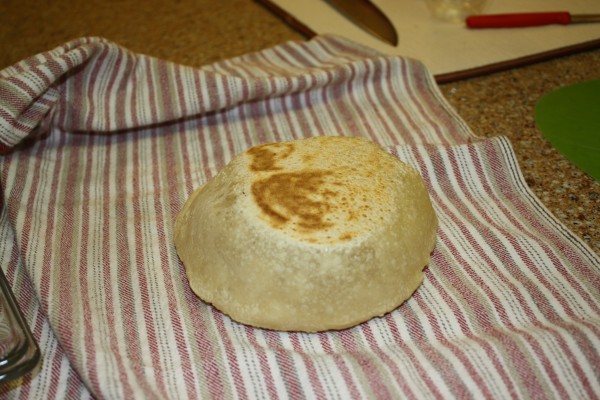
This one looks confused. Or maybe he’s saying, Help! Please don’t eat me!
Syrian Bread/Pita Bread, adapted from Just Hungry
Ingredients:
- 1 packet (7g) instant dried yeast
- 250ml warm water from the tap (about a cup, plus more if needed)
- pinch of sugar
- 3 cups flour
- 1 tsp salt
- 1 tsp olive oil
Equipment needed:
- a non-stick frying pan (or two)
- lids to fit the pans
- a glass mixing bowl
- a large kitchen towel
Directions
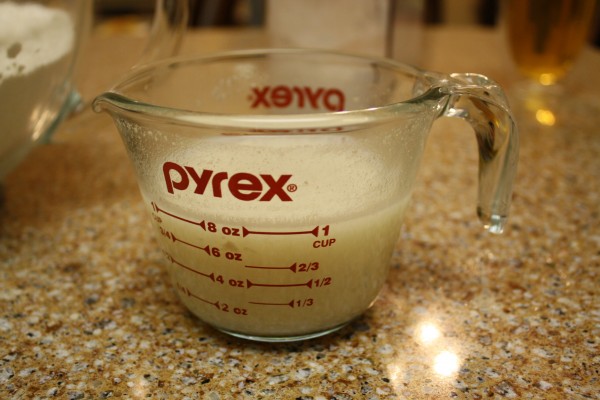
- Mix together the warm water, yeast, and pinch of sugar. Leave in a warm place until frothy.
- Mix the flour and salt in a large mixing bowl. Add the liquid gradually, stirring vigorously with a wooden spoon. Add the oil, and as soon as it’s formed a ball start to knead. (If it’s a bit dry, add water drops at a time until it’s kneadable.) Knead until smooth and pliable.
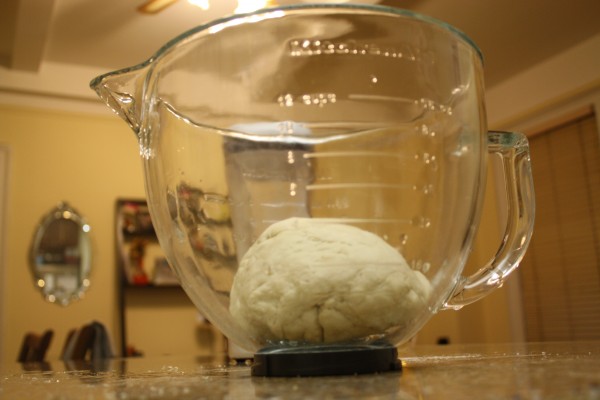
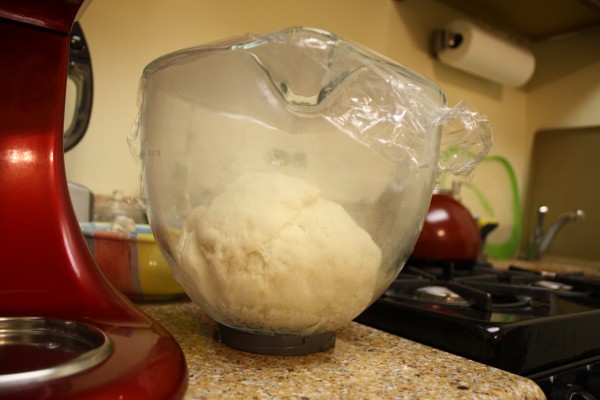
- Put the dough ball in a plastic bag or in a clean bowl covered with plastic wrap and leave in a warm place until more than doubled in bulk, about two hours.
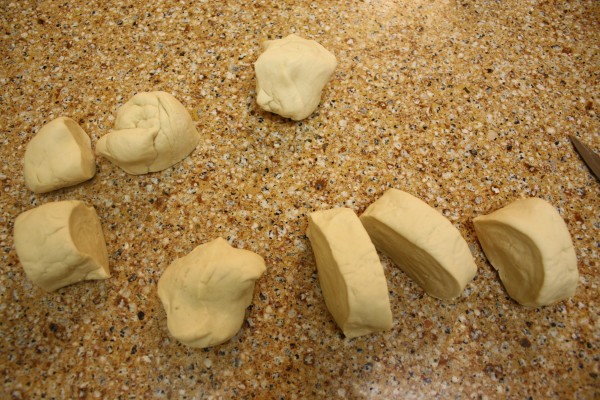
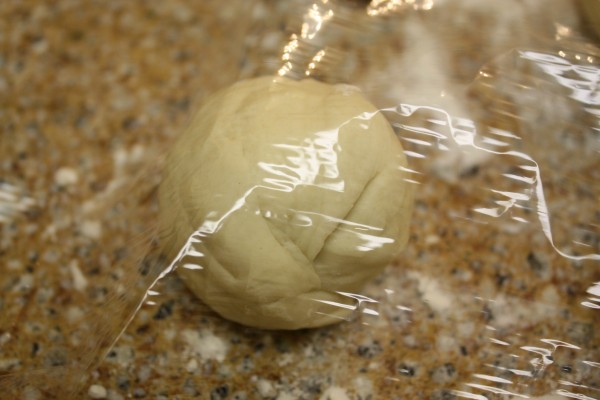
- After the dough has risen, punch it down and knead again. Cut into 8 to 12 equal pieces. Round off each piece into a smooth ball, and leave, covered with a damp cloth or plastic, to rest for about 10 minutes, on a floured surface. (At this point you can refrigerate individual dough balls wrapped in plastic. When you’re ready to use them again, set out for 20 minutes to get to room temperature and then continue with the rest of the directions.)
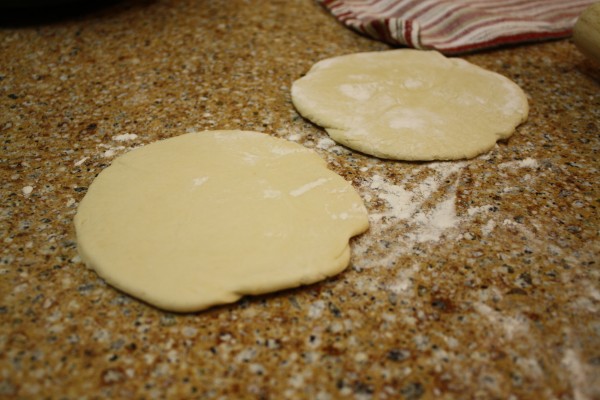
- Flatten the balls with a rolling pin to your desired diameter (for 12 pieces, about 5-6 inches / 12-15 cm is good). Let rest again for a few minutes so that the dough balls ‘relax’.
- Heat up one or more non-stick frying pans over medium-high heat.
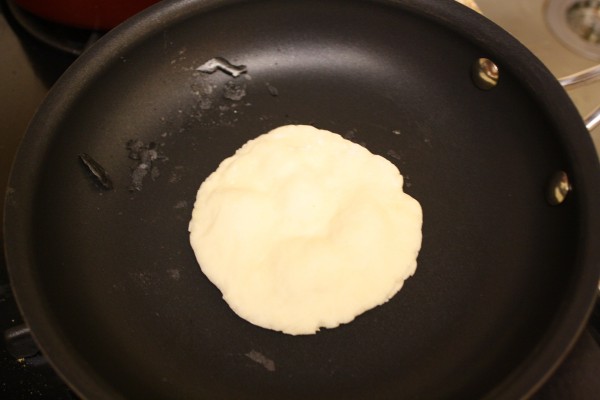
- Take a flattened ball and put in a hot frying pan. Cover with lid. Leave for about 2-3 minutes, until it puffs up. Flip over and cook for another 2-3 minutes on the other side.
- Take out of the pan and immediately put onto a large kitchen towel and fold over, enclosing the bread. This allows the pita to cool in a somewhat closed environment, so the surface is sort of pliable rather than crispy and brittle.
- Repeat for the rest of the dough.


Pingback: Get Cooking » Blog Archive » Whole Wheat Pocket Pita()