We hope everyone is having an easy and meaningful Tisha B’av. You know what can pass the time today? Baking! But a not-so-hard baking project. These have to rise a couple of times, giving you a break, but are involved enough to keep your mind off of how hungry you are.
We’ve made chocolate babka before, we’ve made cinnamon babka and we’ve made cinnamon buns. Twice. We even made rugelach when we first started blogging; it’s been three years, and we still can’t find those pictures!
I can’t believe I’ve never thought of filling cinnamon buns with chocolate instead, since chocolate is by far the superior babka flavor! And they’re so similar, buns and babka. A yeast dough, rolled and baked. Breakfast or dessert. Babka and buns basically the same relationship as cake to cupcake. And one person who I fed this to even mentioned rugelach, even that’s less doughy and more cookie-y.
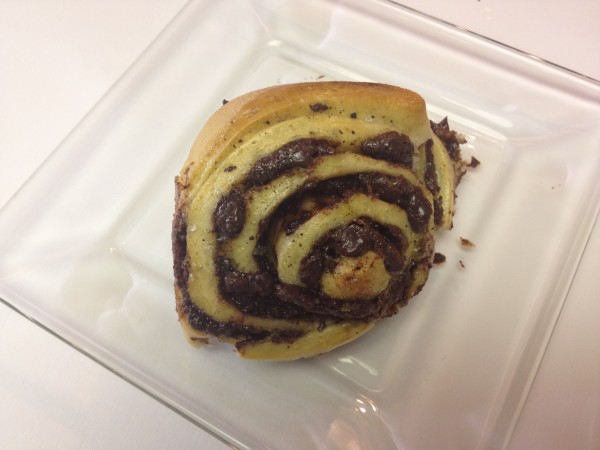
As soon as Deb posted this, I knew I needed to bake it right away, even though I didn’t even have butter at home. Note to self: never run out of butter! And you know what, I made it that very same weekend, and I shared it with some friends, and ate way too much of it myself. It’s breakfast! It’s dessert! A snack, whatever!
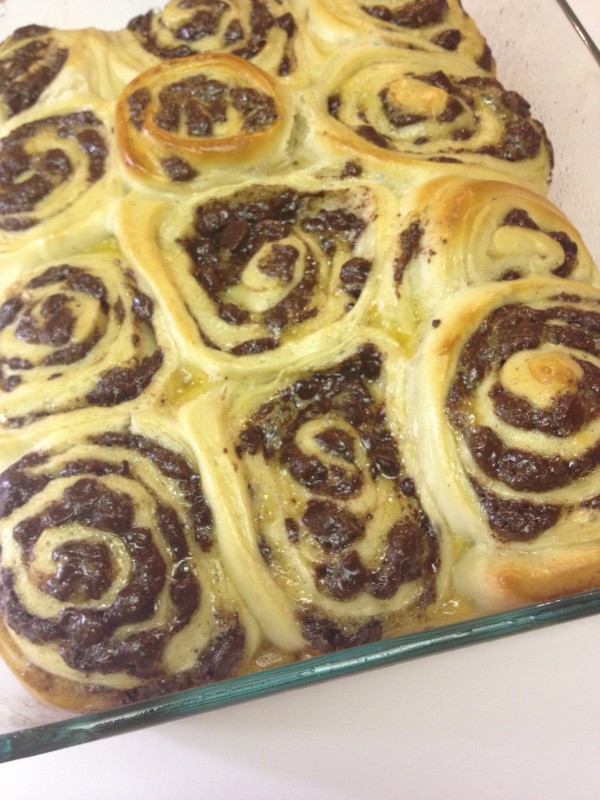
The only change I made to this recipe is that I baked the buns together in a Pyrex instead of in muffin tins; I just feel like they get gooier and stickier, thus more delicious, that way, even if they’re not as pretty.
Chocolate Swirl Buns from Smitten Kitchen
Makes 12
Ingredients:
For the dough:
- 1/2 cup (120 ml) milk, preferably whole (I used 2%, that’s what was in the fridge at the time. It was fine.)
- 1/4 cup (50 grams) plus a pinch of granulated sugar
- 1 1/2 teaspoons (5 grams) active dry yeast
- 1 large egg, room temperature
- 2 cups (250 grams) all-purpose flour, plus more for work surface
- 1/2 teaspoon table salt
- 3 tablespoons (45 grams) unsalted butter, at room temperature, plus additional for greasing bowl and muffin tins
For the filling:
- 3 tablespoons (45 grams) unsalted butter, at room temperature
- 1/4 cup (50 grams) granulated sugar
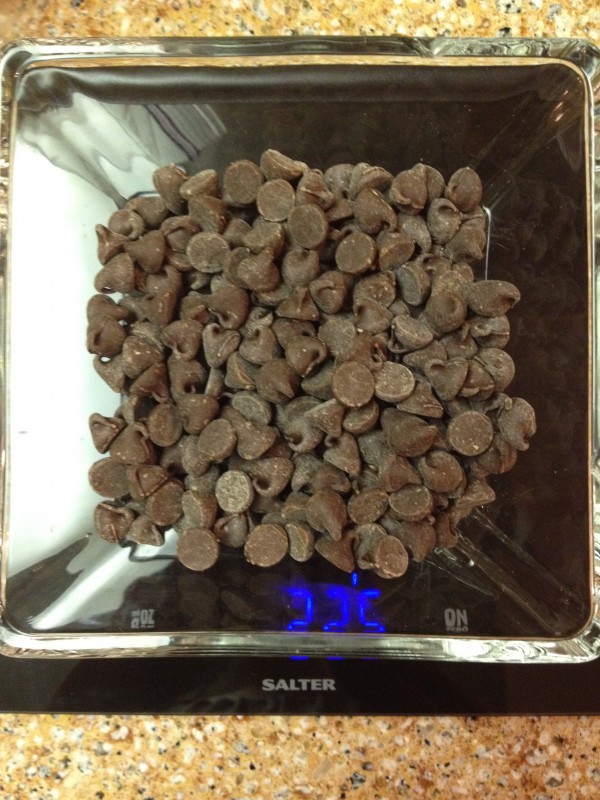
- 1/2 pound (225 grams) semisweet chocolate (I used chips)
- Pinch of salt
- 3/4 teaspoon ground cinnamon (optional)
- Egg wash
Directions:
Prepare the dough:
- Warm milk and a pinch of sugar to between 110 to 116°F: warm, but not too hot to touch; you don’t want to kill the yeast. Sprinkle yeast over milk and let stand until foamy, about 5 minutes.
- In a small bowl, whisk together egg and remaining 1/4 cup sugar, then slowly whisk in yeast mixture.
- In a stand mixer fitted with the paddle attachment, combine flour and salt. Run mixer on low and add egg mixture, mixing until combined. Add butter and mix until incorporated.
- Switch mixer to dough hook and let it knead the dough for 10 minutes on low speed. It should be sticky and stringy. It will firm up a bit after it rises.
- Butter a large bowl and place dough in it. Cover loosely with a lint-free towel or plastic wrap and let rise for 1 hour, or until doubled.
Meanwhile, prepare filling:
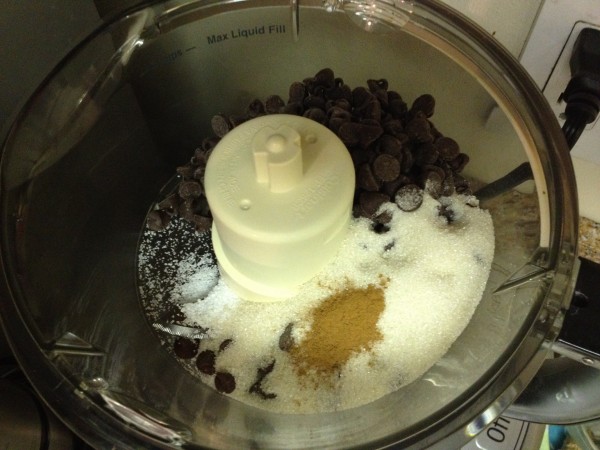
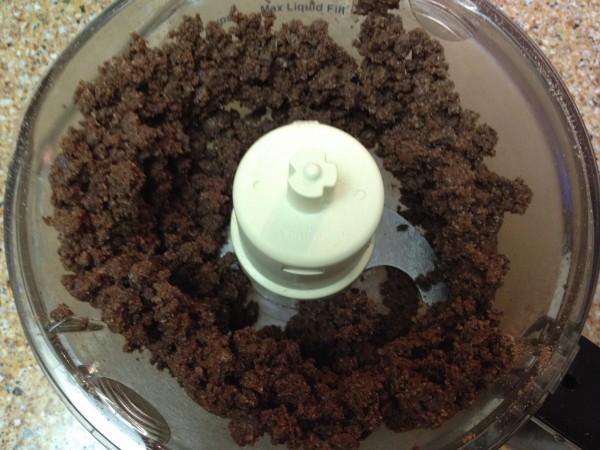
- Pulsing chocolate with salt, sugar, and cinnamon in a food processor until the chocolate is very finely chopped with some parts almost powdery. Add butter and pulse machine until it’s distributed throughout the chocolate. (If you don’t have a food processor, you can just chop the chocolate very finely by hand, then stir in the sugar, salt, cinnamon and butter until it resembles the picture above) Set mixture aside.
- Generously butter a 9×13 baking dish or standard 12-muffin tin; set aside.
Form buns:
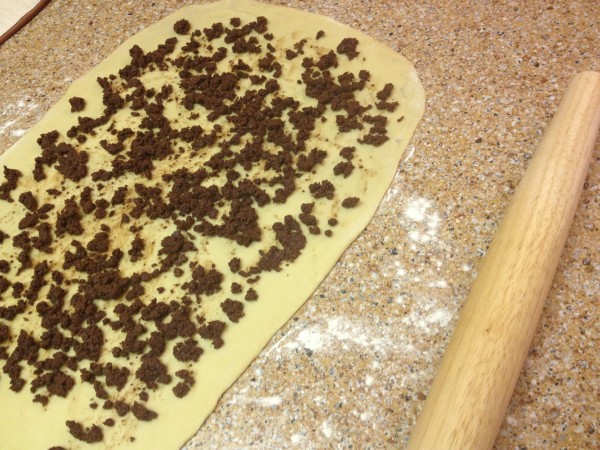
- Once dough is doubled, turn it out onto a well-floured surface and gently deflate it with floured hands. Let it rest for another 5 minutes. Once rested, roll dough into a rectangle. The short sides should be about a foot long. The other side should be as long as it can be without ripping. The longer you can make it, the more swirled your buns will be.
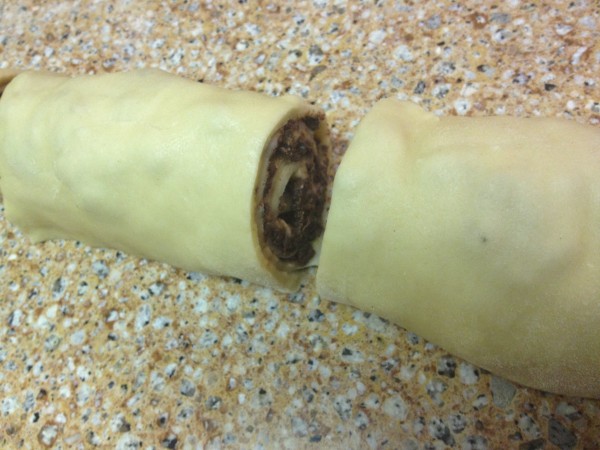
- Sprinkle the filling over the dough’s surface. It’ll be clumpy and uneven and probably look like there’s too much chocolate for the volume of dough; just do your best. Tightly roll the dough back over the filling from one short end to the other, forming a log.
- With a sharp serrated knife, gently saw 1-inch segments off the log and place each in your prepared pan. Loosely cover with plastic wrap or towel and let rise at room temperature for another 30 minutes.
- Meanwhile, preheat your oven to 350°F (180°C).
Bake:
- If you’d like, you can egg wash your buns before baking them.
- Bake for 25 to 30 minutes (Deb said 15 to 20 minutes, mine took much longer, I suspect the one pan vs. muffin tin had something to do with it) until puffed and brown. If you have an instant read thermometer, you can take the buns out when it reads 185 to 190 degrees in the middle of each bun.
- Try to cool them a little bit before eating, to avoid burning your fingers/roof of mouth.

