Herzog Wine Cellars

David and I were lucky enough to visit the Herzog Wine Cellars during a weekend trip to Los Angeles for a tour of the facilities, wine tasting and brunch. Our visit coincided with this year’s harvest celebration. The winery is actually in Oxnard, about an hour outside of LA, and well worth the trip! We learned so much about the wine making process and about kosher wine. If you live in or are visiting the area, you should definitely have a delicious meal (and it will be delicious) at Tierra Sur, accompanied by some Herzog wine!

Can you tell we like wine tasting? Jessica went to Hagafen Cellars on her trip to Napa earlier this year.

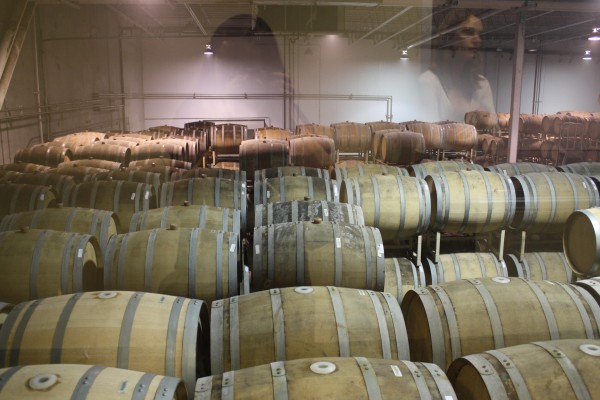
Looking at the wine-making process in these vats and barrels (though glass; sorry for the reflections). The winery here is not a vineyard, so Herzog sources its grapes from all over California.

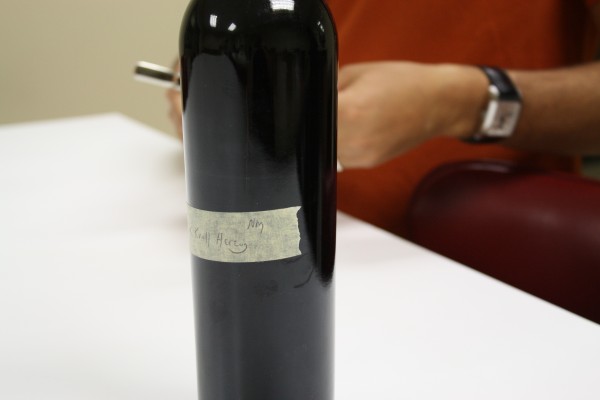
We made it to the wine tasting room and sampled a bottle of wine that hasn’t been released yet. See, the label is just a piece of tape; the real labels haven’t been printed yet. David had to open and pour the wine! Can you guess why?

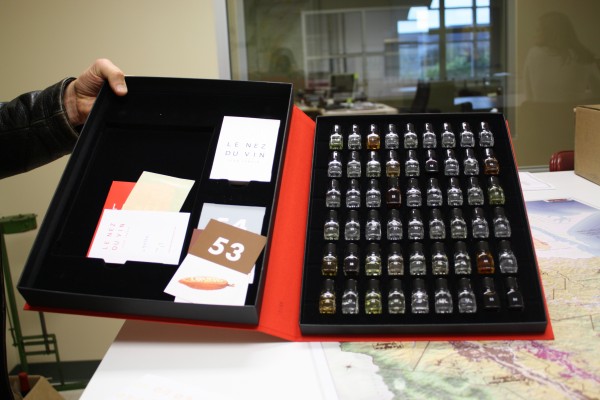
This was one of my favorite parts: bottled smells of wine characteristics. This is the “good” box, which (luckily) is much bigger than the “bad” one. We smelled things like moldy and horsey before moving on to dark chocolate and caramel. I had no idea something like this existed, and still don’t know how they perfectly bottled those scents.

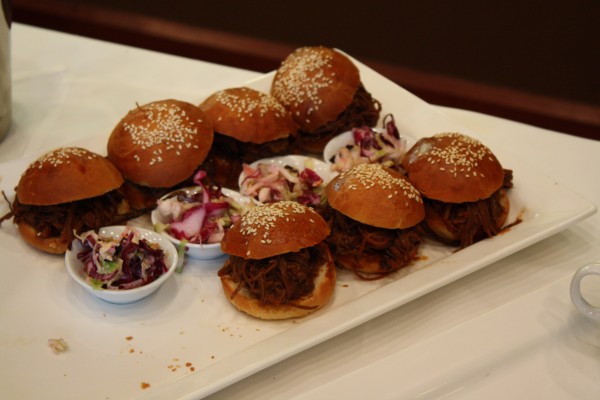
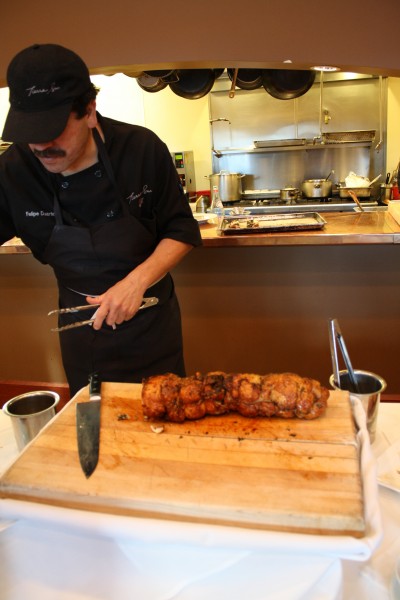
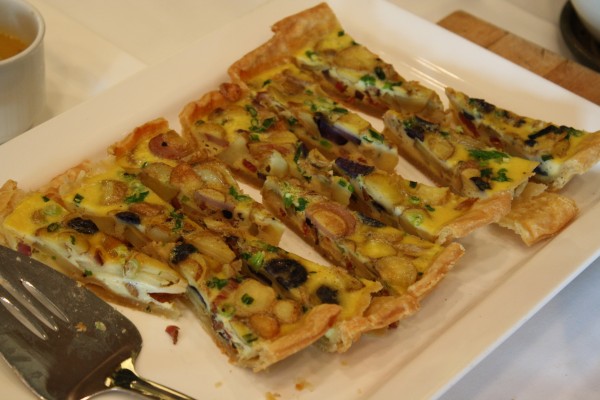
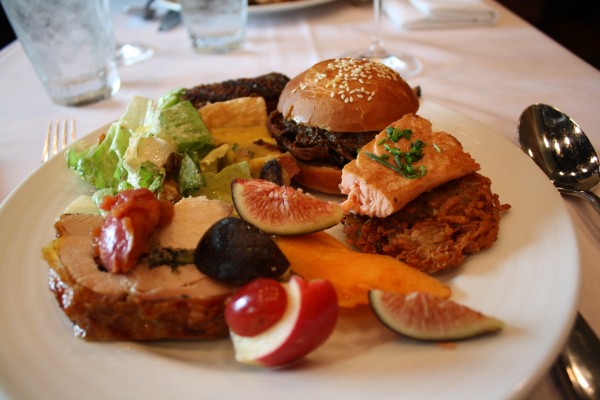
And now, time for brunch at Tierra Sur, the restaurant at Herzog Wine Cellars, where Chef Todd Aaron uses local California produce! Lucky for me, there was a special buffet for the harvest festival, so I got to taste everything. I think those mini barbecued beef sandwiches were my favorite part! David really liked the juicy capon; he asked me to replicate it! When the manager told us what was in this quiche, we thought we misheard him: it’s bacon; lamb bacon! I couldn’t have fit more food on my plate if I tried:

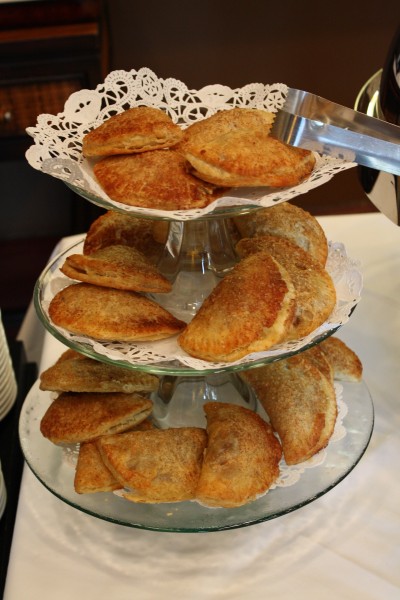
And now, time for dessert. Apple pie, a mini pumpkin bundt and a rich chocolatey cupcake. I can’t decide which was my favorite, they were all amazing. I had to share my plate with David, though. I was too stuffed from the buffet to finish everything!

After our meal, it was time for more wine tasting! We tasted wines that were still in the barrel and that will only be released in the tasting room (become a member of one of their wine clubs to get a bottle!). The Cabernet Sauvignon from Napa Valley was especially delicious, and its undecided what will become of it in the future.

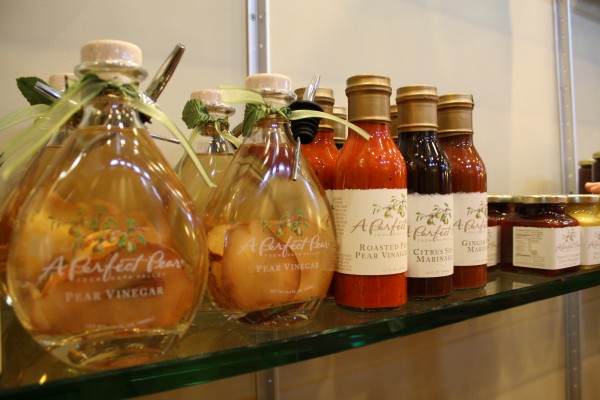
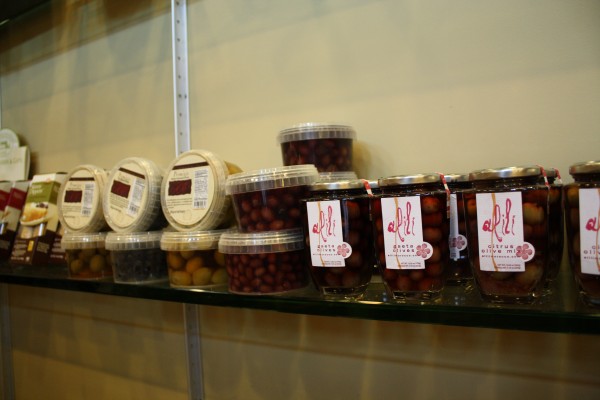
I had to refrain from buying any of the beautiful condiments, marinades, olives and, of course, wines in the gift shop since I didn’t want to check my luggage at the airport. Then I was forced to check my suitcase when boarding, since the overhead bins were full. I could have brought home so many goodies! Ugh! I don’t want to talk about it, I’m still kinda mad…

A special thanks to Monica and Joe for inviting us out and showing us around! What a great way to end my short trip to California!

p.s. I thought that we New Yorkers had it all when it came to kosher food, but that was before I visited LA! What’s your favorite city for kosher eating?

p.p.s. Don’t forget to enter our giveaway!

Kosher by Design Teens and 20somethings + a Giveaway!
We just got a copy of Susie Fishbein’s new cookbook Kosher by Design Teens and 20somethings, a great resource for just-starting-out chefs and a great addition to the Kosher by Design series! This book is obviously targeting a younger generation of cooks, but don’t let that (or the spaghetti squash wearing sunglasses) turn you off.

Whether you’re heading to college, you’re a newlywed in a new kitchen or maybe you are just sick of takeout, this is a great cookbook for you. Not only does it have simple and delicious recipes (David made fun of the number of them I bookmarked for future dinners), but it has great tips and suggestions for a young cook. Hey, we Kosher Foodies are not exactly beginners, but we are 20somethings with full-time jobs who like to sit down to a home-cooked meal after a long day, so these are great recipes for long days like that. The book even guides readers, helping them plan ahead, and use the same ingredients in one week. Thanks, Susie!

But enough of this talk, you can see for yourself! One lucky reader can get a free copy of the book. How’s that, you ask? There are four ways, and you can enter up to four times:

  1. Leave a comment on this post and share with us your favorite weeknight recipe (we’re always looking for new ideas; meat, dairy, pareve, whatever!).
  2. Follow us on Twitter (@kosherfoodies)
  3. Like us on Facebook (facebook.com/kosherfoodies)
  4. Email 5 of your friends and tell them to check us out (and CC kosherfoodies@gmail.com)

And if you don’t win, don’t fret; here’s a message from ArtScroll:

Preorder your copy today at ArtScroll.com – enter the coupon code KBDBLOG at checkout to save 10% and receive free shipping in the continental U.S. Join us online to find more reviews and giveaway contests! Kosher by Design Teens & 20-Somethings: cooking for the next generation is aimed at the young and digital-savvy fast-food generation and those who cook for them. Susie Fishbein is an everyday cook who loves to share her passion for cooking and entertaining with friends and family. Her enthusiasm for food and entertaining led to the creation of her best-selling cookbook, Kosher by Design, published in 2003 by ArtScroll Shaar Press. For more recipes and updates, visit our blog or connect with us on Facebook and Twitter.

Marinated Beets

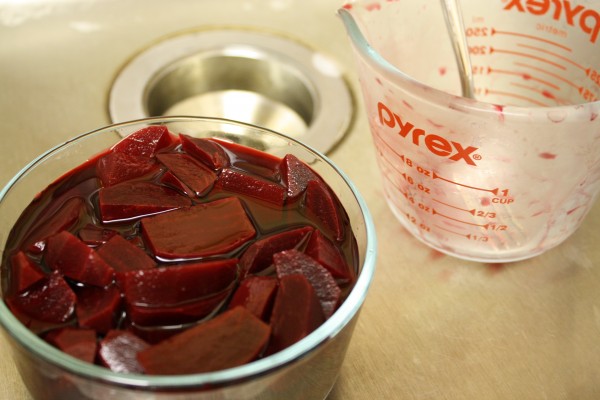
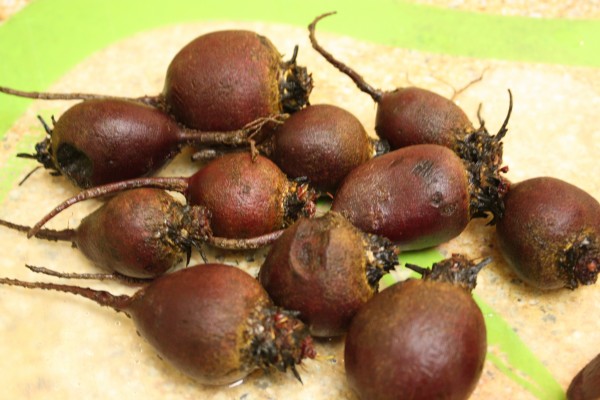
I have been making these beets every time I picked up beets from my csa, and I’m sorry for not sharing with you sooner! They are simple to make, you already have the ingredients in your pantry (I hope) and you make them one night and eat them throughout the week. I like them plain, but you can also add them to salads.

Beets are really healthy! That’s why The New York Times featured them in “Recipes for Health.” So you should make these as a healthy snack. No more potato chips for you! Okay, so maybe I shouldn’t bad-mouth potato chips; they don’t stain my hands red when I handle them! And they’re crunchy and addictive and delicious. But so are these.

Marinated Beets from The New York Times

Ingredients:

  • 1 lb beets, scrubbed and trimmed
  • 1/3 cup red wine vinegar, divided
  • salt to taste
  • 2 garlic cloves, peeled and cut in half
  • 2 teaspoons sugar

Directions:

  1. Put the beets in a saucepan and cover with water. Add 1/4 cup of the vinegar and the salt. Bring to a boil, reduce heat and simmer for 30-40 minutes, until beets are tender.
  2. Remove from heat and add garlic to the pot. Let cool.
  3. While cooling, combine the remaining vinegar and the sugar and mix until the sugar is dissolved. Set aside.
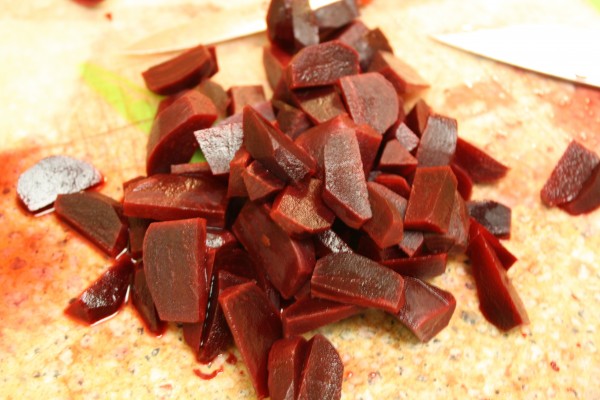
  4. Without draining the pot, remove the beets from the pot, peel the skins off and cut into wedges.
  5. Stir in 1/4 cup of the beet liquid and the garlic into the vinegar and sugar mixture. Toss with the beets and refrigerate for 30 minutes.
  6. Remove the garlic and serve, or cover and store in the fridge for up to a week.

Dakshin Indian Restaurant

David and I just came back from a delicious Indian dinner at Dakshin on 1st Avenue between 63rd and 64th Streets.

I’ve eaten in many Indian restaurants before, but only vegetarian meals, this was my first experience with meat Indian. Dakshin is the only Glatt kosher Indian restaurant among the dozens here in the city.

We ordered the chicken tikka masala and the lamb vindaloo. These entrees did not come with rice; we ordered lemon rice on the side.

The food was delicious, authentic and spicy! The lamb was so tender and delicious and both of the sauces were nice and flavorful. Unfortunately, the portions were so generous that we could barely finish them and didn’t leave any room for dessert. We appreciated the complimentary rice pudding anyway.

The service was excellent, and not just for a kosher restaurant on a Saturday night. Our waiter was very attentive, he helped us choose from the menu and constantly made sure we had enough water.

Have you been to Dakshin? What did you think?

Beef and Veggie Stew

As you can tell, we like making stews in our Dutch ovens. It’s not something we do much during the summer, but now that the temperature is dropping, we’re back to braising and browning and serving over rice!

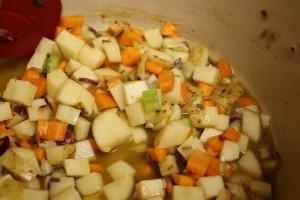
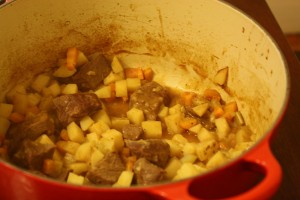
I used mostly vegetables from my csa with a few other groceries that were hanging around in my fridge. Served with a simple green salad, this made for a delicious dinner for two with enough leftover for a lunch the next day. Which is the perfect kind of dinner.

Beef and Vegetable Stew

Ingredients:

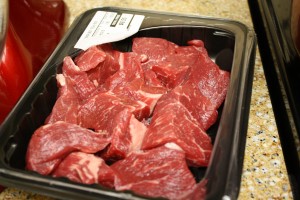
  • 1 pound beef stew meat (I don’t know what that means, I bought it at Trader Joe’s)
  • 4 carrots, chopped
  • 3 medium potatoes, chopped
  • 3 tiny red onions, chopped
  • 1 celery stalk, chopped
  • 5 cloves of garlic, minced
  • 2-3 cups of stock or water
  • olive oil, salt and pepper

Directions:

  1. Preheat the oven to 400 degrees.
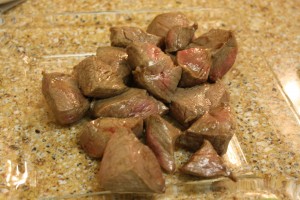
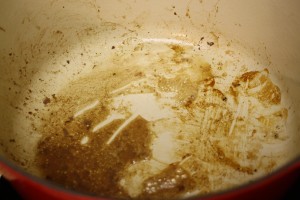
  2. Brown the beef over medium-high heat in a little bit of olive oil in a heavy pot or Dutch oven.
  3. Remove beef from pot and stir in chopped onions. Let cook for 5 minutes and add garlic. Mix and add the rest of the vegetables. Season with salt and pepper.
  4. Add half of the stock (I used vegetable stock), mixing well. Put the beef back into the pot and mix. Add more stock if it seems too dry.
  5. Bring the mixture to a boil. Lower the heat, cover, and let simmer, stirring occasionally, for 10 minutes.
  6. Put the pot in the oven and bake for 30-45 minutes, stirring occasionally.
  7. Serve over rice.

Irish Soda Bread

Guess what!?

I’m off to Ireland this evening! David and I are going to spend 10 days driving, hiking, exploring and photographing all over the country. I can’t wait to tell you all about it when we get back, but for now I will leave you with this recipe I made in preparation for my trip: Irish Soda Bread!

Soda bread is a quick bread that uses baking soda (hence the name) instead of yeast as a rising agent. It is an easy bread to make, since there is barely any kneading (10 times!) and no waiting for it to rise or anything; just mix and bake. It became popular in Ireland when baking soda was brought there and is still popular today.

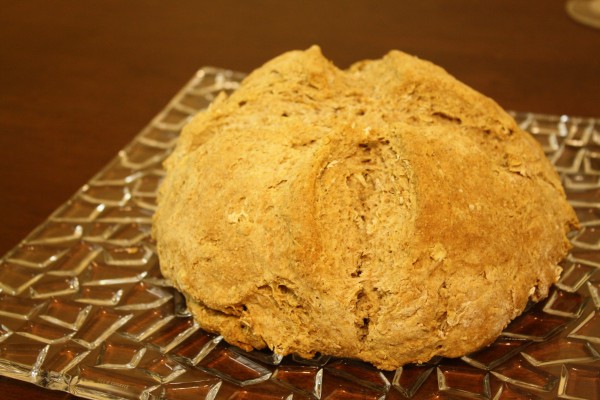
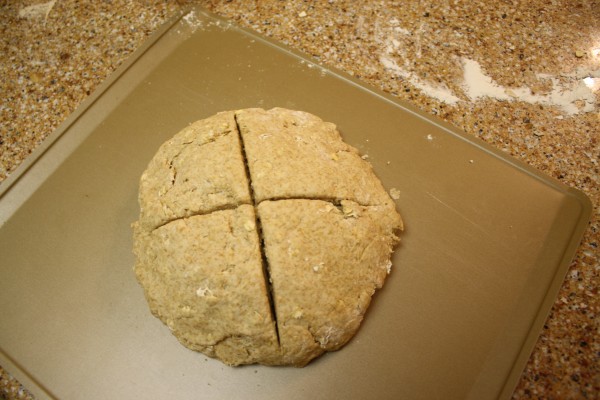
When this first came out of the oven I thought I did something wrong, because it was kinda lumpy and ugly looking. But then I google-imaged Irish soda bread and I realized that it’s supposed to look like that!

So see you all in 10 days, and until then you have Jessica to keep you company. Don’t fret, she has a lot of interesting duck recipes for you!

Irish Soda Bread from Food & Wine

Ingredients:

  • 2 1/2 cups all-purpose flour
  • 2 1/4 cups whole wheat flour
  • 3/4 cup rolled oats
  • 1 tablespoon plus 1 1/2 teaspoons baking powder
  • 2 teaspoons sugar
  • 2 teaspoons salt
  • 3/4 teaspoon baking soda
  • 1 3/4 cups buttermilk
  • 6 tablespoons unsalted butter, melted and cooled

Directions:

  1. Preheat the oven to 350.
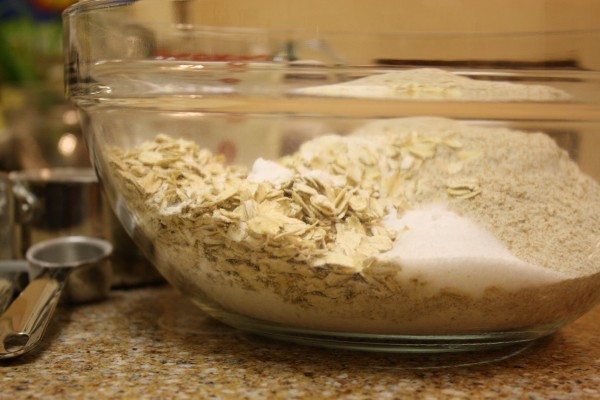
  2. Whisk all of the dry ingredients together.
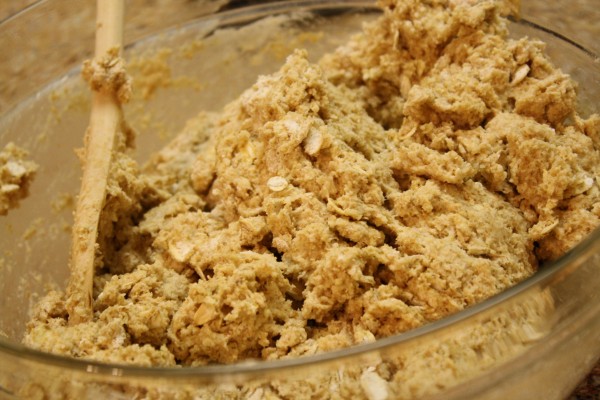
  3. Add the buttermilk and cooled butter and stir with a wooden spoon until everything is well combined.
  4. Turn the dough out onto a lightly floured surface and knead it 10 times.
  5. Shape it dough into a 9-inch round loaf and transfer to a baking sheet. Slash an X about 1/4 inch deep in the top of the bread.
  6. Bake for about 1 hour, or until the bread is golden and the bottom sounds hollow when lightly tapped. Cool on a wire rack.

Chocolate Chip Pumpkin Bread + Chipless Pumpkin Muffins

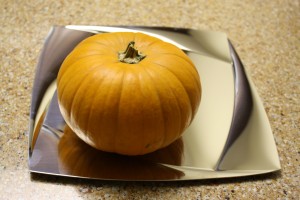
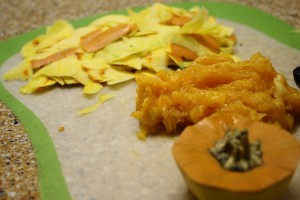
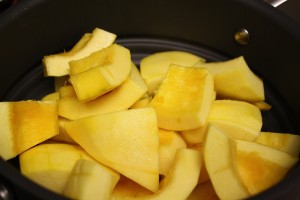
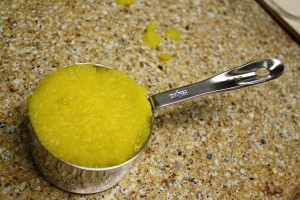
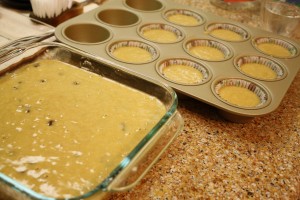
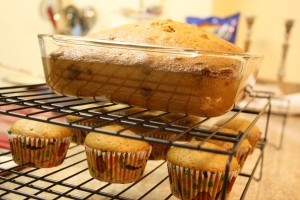
I got a pumpkin from my CSA! It’s a baby bear pumpkin, how cute is that! I had all sorts of ideas of things to do with this pumpkin, but since it was so little I had to limit the pumpkin recipes. I ended up roasting the seeds to make bizir and then getting about two cups of puree. With one cup I made this pumpkin bread and I froze the other cup with intentions to turn it into ice cream soon.

This chocolate chip pumpkin bread recipe has been in our family for ages. We have been making it at least once a year for as long as I can remember, always from fresh pumpkin. Jessica has the original copy of the recipe, which I’m pretty sure is a photocopy of a recipe that my mom used to use in her nursery school class. After going apple and pumpkin picking with her class she would always bring us a pumpkin to bake with; don’t we have the best mom!

I have memories of freezing the extras and being happily surprised a few months later to find pumpkin bread hiding among the ice cream in the back of the freezer somewhere. I think I’ll freeze some of this and then try to forget about it so I can find it later.

Oh yeah, and did I mention that the recipe is pareve? No need for adaptation here! Just make sure to use pareve chocolate chips (duh!). Because I thought I had in my freezer, but they ended up being dairy, which is why I made the muffins chipless (yeah, that’s a word).

Luckily, I just got another baby bear pumpkin from my csa! Maybe I will make pumpkin pie! And ravioli! Maybe some soup or risotto, too! I think I may be getting carried away, but for some reason the fresh stuff is so much better than the canned kind. I know it’s pure pumpkin, but why is it so orange?

Here’s a copy of our handwritten recipe for you:

Bizir Revisited

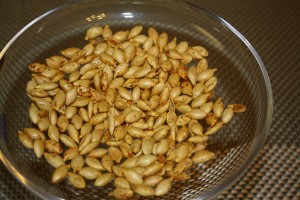
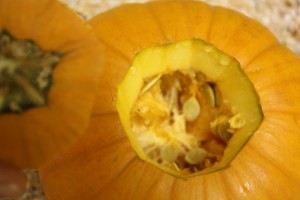
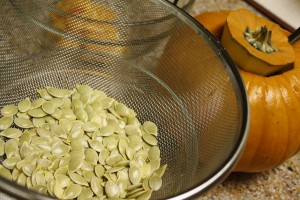
So I know I already showed you how I toast pumpkin seeds to make bizir, but the photo (that’s right, just one photo!) is ugly, so when I got a baby bear pumpkin from csa I took some better pictures for you. The technique is the same, I cleaned, rinsed and dried the seeds and then tossed them with a bit of olive oil, salt and cayenne pepper for some kick before roasting them for 20 minutes at 350 degrees. They’re a little bit harder to crack open than the ones you buy at the markets on Kings Highway, but I made them, so they’re better!

This tiny pumpkin gave me about 2 cups of puree, so get ready for some pumpkin bread and ice cream!

Nectarine-Apricot Jam

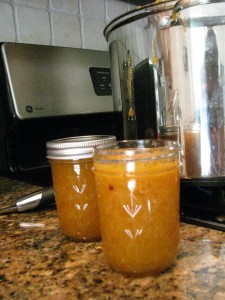
Summertime means it’s time to preserve the sweetest and best tasting fruits to enjoy during the winter months. We made this during the peak fruit season and sold them at a local bake sale (we weren’t able to attend, but we heard they sold out fast! Did you buy one? What did you think?, but we’ve neglected to share it with you until now. Sorry about that, the pictures had been hiding somewhere, but we uncovered them on Adele’s camera. (You remember Adele, right?)

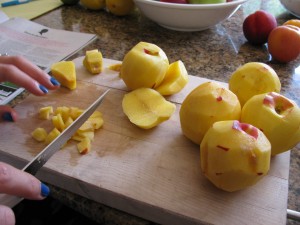
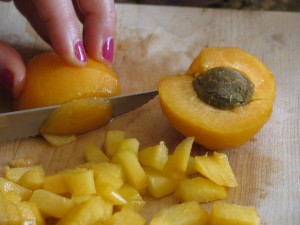
Ooh, so this was when I impulsively bought a bottle of blue nail polish on a trip to Duane Reade. You can see it in the corner of this picture; cool, huh:

This was our first time making jam with stone fruits, and it was a bit different than the raspberry and fig-strawberry kinds. First of all, there was a lot more chopping involved, and most importantly, it yielded a lot less jam; we only ended up with five jars.

Nectarine-Apricot Jam

Ingredients:

  • 5 cups of cubed apricots
  • 5 cups cubed nectarine
  • 5 cups of sugar
  • 1 package of pectin

Directions:

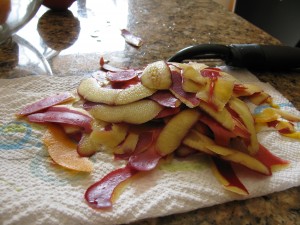
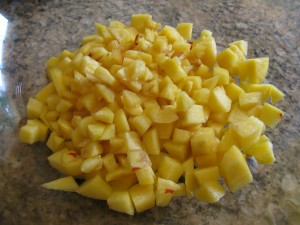
  1. Wash, fry, and cube the fruit.
  2. Sterilize the jars (we use the dishwasher, without soap) and the lids (we put them in a pot of water on the stove, but don’t let them boil).
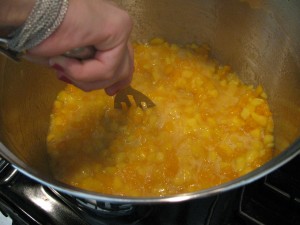
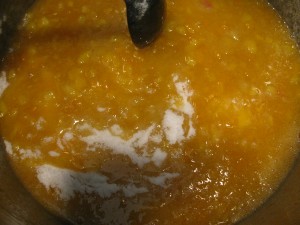
  3. Cook all of the fruit in a large pot over high heat. Stir, stir, stir!
  4. Mix 1/4 cup of sugar with the pectin and add to the sugar. Stir some more, until the mixture comes to a boil. And then keep on stirring until you can’t stir away the boil for a whole minute!
  5. Add the rest of the sugar and continue stirring until it comes back to a boil. And that’s it, you’ve made jam.
  6. Just to make sure it jammed, test it: dip a teaspoon into the jam and then dip it into a bowl of ice water. Did it turn into a gel? If so, you’re good. If not, boil some more.
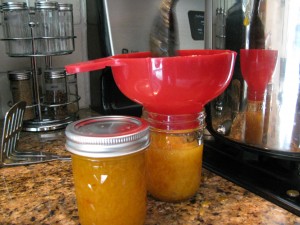
  7. Now you’re ready to preserve! Fill the jars with jam using a jar funnel. Use a magnetic jar top picker up-er to lift the lids and place them on top of the jars. Then screw the rings on.
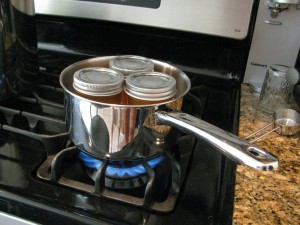
  8. When all of your jars are filled and you’re out of jam, fill a pot with about 2 inches of water and boil the jam jars in there for 5 minutes. You’ll hear the lids pop! And now you have sterile jam. Wasn’t that fun!?
  9. This will keep for about a year in the pantry. Refrigerate after opening.

Chewy Double Chocolate Chip Cookies

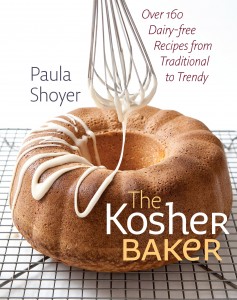
Paula Shoyer was generous enough to send us a copy of her new cookbook, The Kosher Baker. It’s a cookbook that consists totally of pareve desserts! Over 160 of them! And she tested them out for us already, so we don’t have to experiment with rice and almond and soy milk.

One of my favorite parts of this new cookbook? The way it’s set up. If you only have 30 minutes to whip up a dessert, turn to the front section, “Quick and Elegant Desserts:” if you’re in the mood to make a more complicated recipe, leaf through the “Multiple-Step Recipe” section. How cool is that!?

Paula also goes through a bit of kosher baking history; did you know that for dessert after meat meals people used to use fat rendered from meat and poultry instead of butter? Ew! She uses the now-readily-available butter substitutes instead, and (as you probably know already) we prefer Earth Balance.

Now, just in time for the holidays, I can bake pareve desserts for every meal! The first one I tried was (as you can probably guess from the title) chocolate chip cookies. Why? Well, we don’t have any of those on this blog! And everyone should have a chocolate chip cookies recipe, because really, you can’t go wrong with a chocolate chip cookies. Who doesn’t like them?

These specific cookies had an element that I’m not used to adding to my cookies: 1 cup of oats, ground. You could kind of taste it, but the oats play more with the texture than the taste, making them airy and light cookies, with a bit of a crunch on the outside.

Double Chocolate Chip Cookies, Reprinted with permission from The Kosher Baker by Paula Shoyer, Brandeis University Press/University Press of New England 2010

Storage: Place baked cookies into an airtight container or freezer bags and store at room temperature for up to five days or freeze up to three months.

I have given you two ways to bake these cookies: one allows you to bake them right away, and the other allows you to freeze them and bake them later in smaller batches. I usually keep rolls of dough (marked “dairy” or “parve”) in my freezer so that if I have unexpected visitors, I can just slice and bake my own cookies, which are ready to share in no time. I also like to shape the dough into logs, let them set up for 2 hours in the freezer, and slice them because the cookies all come out the same size—vestiges of my days catering when I actually sold these cookies in Geneva, Switzerland to people who wanted a taste of America

1/2 cup (1 stick) parve margarine

1/2 cup sugar

1/2 cup light brown sugar

2 large eggs

1 teaspoon pure vanilla extract

1 cups raw oats (not quick-cooking kind)

1 1/3 cups all-purpose flour

1/2 teaspoon baking powder

1/2 teaspoon baking soda

1/4 teaspoon salt

1 1/2 cups parve chocolate chips

3 1/2 ounces parve semisweet or bittersweet chocolate

1. Preheat the oven to 400°F. Line two cookie sheets with parchment.

2. In a large bowl, beat the margarine, sugar, and brown sugar with a stand or hand-held electric mixer, or by hand with a whisk, until creamy. Add the eggs and vanilla and beat until smooth.

3. Place the oats into the bowl of a food processor fitted with a metal blade. Process until the oats are ground to a powder. Add the powdered oats, flour, baking powder, baking soda, and salt to the egg and sugar mixture and mix until combined.

4. Add the chocolate chips to the batter and mix in. Using the small holes of a box grater or microplane zester, grate half of the bar of semisweet chocolate into a medium bowl or over a cutting board. Add the grated chocolate to the bowl with the dough. Place the other half of the chocolate bar in the food processor bowl that you used for the oatmeal and process until the chocolate is in very small pieces. Add the pieces and any powdered chocolate in the bowl to the cookie dough and mix just until all the chocolate chips and pieces are distributed throughout the dough.

5. To bake right away: Using a small spoon, scoop up some cookie dough, 1 to 2 tablespoons as desired, roll it into to a ball between your palms, flatten slightly, and place on a parchment-lined cookie sheet, about 1 1/2 inches apart. Bake for 12 to 14 minutes, until the cookies are just set. They should be firm on the outside edge, but can still be very soft in the center. They will continue to harden slightly after they come out of the oven. Slide the parchment onto a rack and let cool. Eat immediately or you can freeze the baked cookies, once completely cooled, in a freezer bag or container, layering the cookies between parchment.

6. To freeze the dough and bake the cookies later: Divide the dough into 3 portions. Shape each portion into long logs about 1 1/2 inches in diameter. Wrap each in plastic wrap and then roll each on the counter a few times to make them as round as possible. Place in the freezer for at least 2 hours and up to three months. When you’re ready to bake, take a roll out of the freezer and preheat the oven to 400°F. On a cutting board, use a sharp knife to cut the frozen dough into <fr1/4>-inch slices. Place on the prepared cookie sheets and bake for 12 to 14 minutes, until they are firm on the outside edge, but still very soft in the center. Slide the parchment off the cookie sheet onto a cooling rack and let the cookies cool.