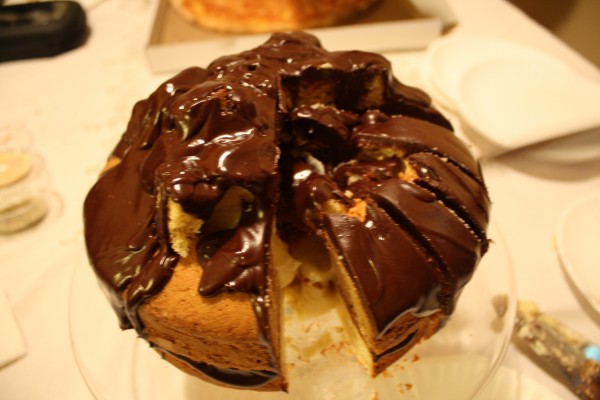
Happy 2nd birthday, Kosher Foodies!! Today our blog turns 2. And to celebrate this momentous occasion, we would like to share one of our all-time favorite cake recipes with you. Sure, I made it over two months ago for Zeke’s birthday in May and wanted to share it with you the second I cleaned up all the forks and plates, but I figured that this special day warranted an extra special recipe, so here you go. It’s worth the wait.
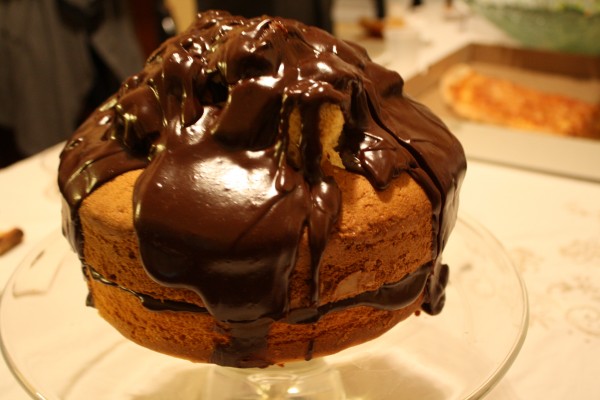
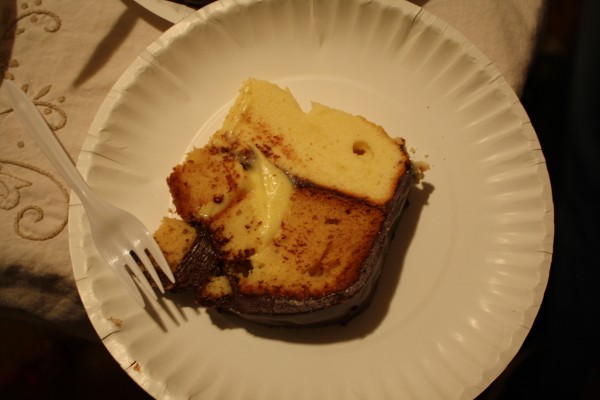
Boston Cream Pie is actually cake. Delicious yellow cake with pastry cream in the center and drizzled with chocolate ganache. Sounds awesome, doesn’t it? Well what about if cut a hole out of the middle and stuff it with the cream, then put more cake on top and top that with lots and lots of chocolate? Yeah, it’s good. At least that’s what the people who ate all of it thought. It was a HUGE cake – I doubled a recipe that served 8-10, and at the end of the night only two slices were left. Those were quickly finished, as well. So if you’re in the mood to make an impressive cake, try this one. You won’t be sorry. 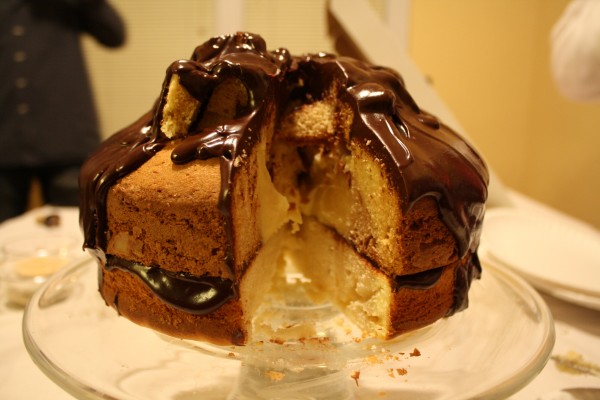
I’ve actually never eaten Boston Cream Pie before, but when I saw the Throwdown episode where Bobby challenged the prettiest cake ever, I knew I had to try to bake one just like it. The recipe that was posted on Food Network‘s website didn’t have such great reviews, but I decided to still take Eunice’s idea and make a showstopper. It was a good idea, because everyone who saw the cake was impressed and wanted to try it, they couldn’t even wait to sing happy birthday!
Okay, so it wasn’t the easiest thing in the world to make, I’ll admit that. There were a lot of different steps – baking two cakes, cooling them, cutting a circle out of one, cutting that into cubes, making pastry cream, making ganache, putting everything together… It’s definitely a full day job. Good thing I have a giant freezer in my basement! I was able to make the cakes on the weekend, the pastry the day before I assembled the cake, and the ganache that afternoon. Planning ahead is always key when hosting people, especially if you plan on making two birthday cakes (fine, I’m a little bit crazy)…so if you decide to bake this cake, make a timeline and see when you can do everything. People will be impressed even if you’re not crazy like I am.
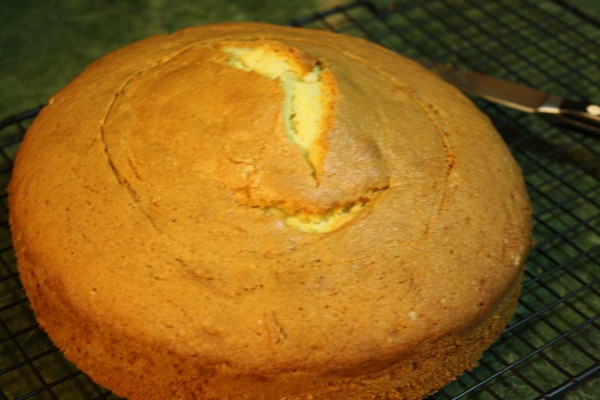
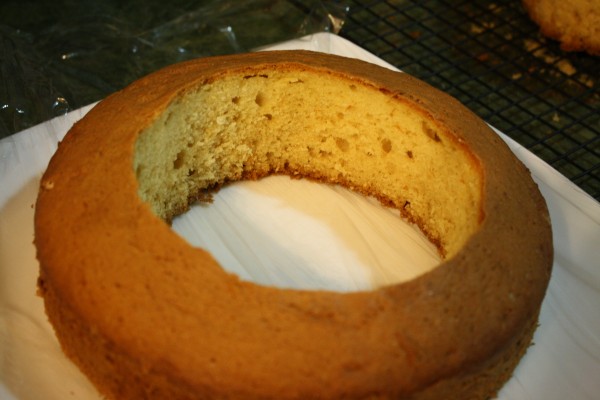
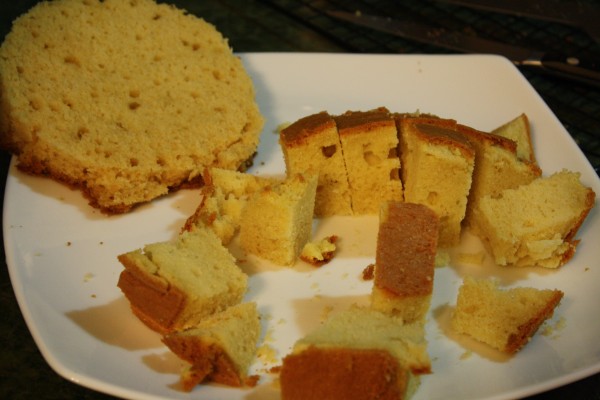 In order to make this cake, I used a regular yellow cake recipe. Want to make life easier? Use a cake mix (gasp!). But really, you can’t compare the taste of this real yellow cake to those boxes. The cake was moist and flavorful, even though it was from the freezer. As long as you don’t wait for it to get stale and old before you freeze, double wrap in plastic, and put in a zip top bag (no freezerburn here!), no one will be able to tell that it was frozen. That, and I have a frosty freezer. That keeps food much fresher than the easier to deal with frost-free one.
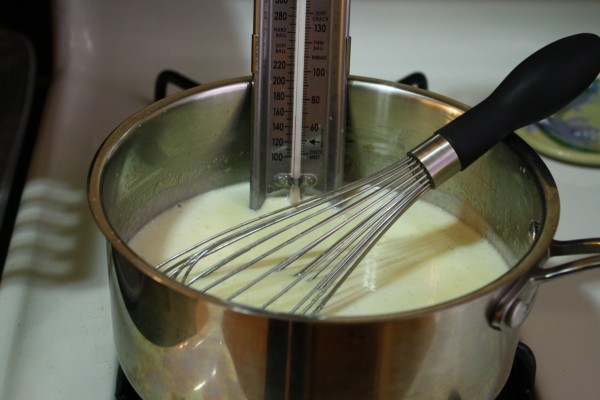
Pastry cream is not as daunting as it sounds. Remember when we made banana cream pie? Well this pastry cream recipe is basically the same as that one. Just with vanilla instead of cinnamon. It’s quite simple to make, as long as you like whisking constantly for a while. Unlike most pastry creams, the recipe calls for flour as a thickener instead of corn starch. I made Zeke do a lot of the whisking while I was getting ready for the night.
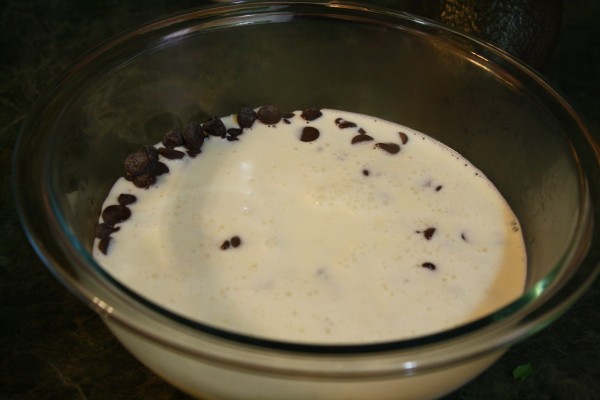
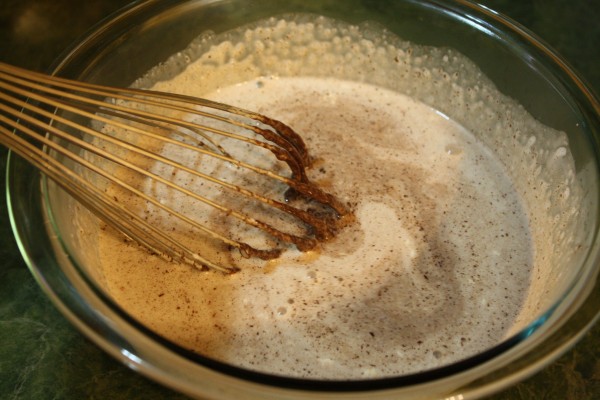
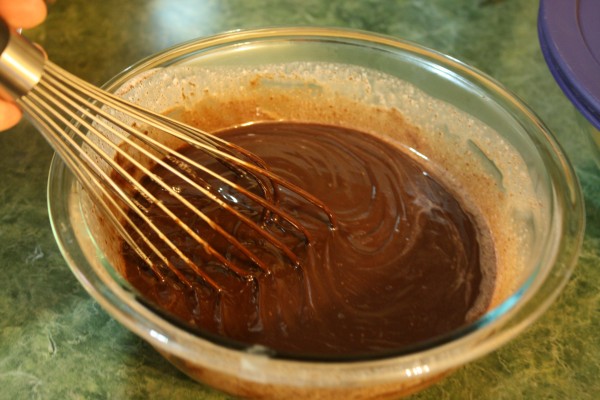
Chocolate ganache is definitely not hard to make. It takes just a few minutes for the cream to boil, then you pour it over pieces of chocolate, let sit, and whisk with all your might! Use it right away, and it’s a glaze. Let it sit for a while, it’s more like a frosting. It hardens after a while. It’s just so cool and delicious. And you can use whatever kind of chocolate you like. I know you’re not supposed to use chocolate chips because they have stabilizers, but I did and it worked, so if you don’t feel like chopping all that high quality chocolate, don’t worry about it. After baking such a pretty cake, why not take some shortcuts?
Boston Cream Pie, recipe for cake, pastry cream, and ganache from The Art and Soul of Baking:
A little note: I actually doubled the cake recipe, since I was baking this cake for about 20 people and the original recipe said it serves 8-10. Since pastry cream is so yummy, make the whole recipe even if you only make one cake. You don’t need to double the cake just because I did, just cut the one you make in half before cutting the circle out of it.It’ll be beautiful, I promise.
Cake:
- 1 1/2 sticks unsalted butter, at room temperature
- 3/4 cup sugar
- 3 large eggs at room temperature
- 1 tablespoon vanilla extract
- 2 cups sifted cake flour
- 3/4 teaspoon baking soda
- 1/4 teaspoon salt
- 1/3 cup sour cream, at room temperature
Directions:
1. Preheat oven to 350 degrees. Butter and flour a 9 inch round cake pan, and line the bottom with parchment paper.
2. In the bowl of your stand mixer, cream the butter and sugar on medium speed until very light in color, about 5 minutes. Scrape down the bowl with a rubber spatula.
3. In a small bowl, beat the eggs with the vanilla.
4. With the mixer on medium speed, add eggs to the butter mixture about a tablespoon at a time, letting it blend in completely before adding more. Scrape down the bowl in the middle and end of adding the eggs.
5. Sift the flour, baking soda, and salt together into a medium bowl and whisk them together.
6. Add the dry ingredients and sour cream alternatively: with the mixer on the lowest speed, add the flour mixture, sour cream, flour, sour cream, and flour. Scrape down the bowl.
7. Scrape the batter into the prepared pan and smooth the top.
8. Bake for 30-35 minutes, and transfer to a cooling rack to cool.
9. If you are baking only one cake, cut in half horizontally and cut circle out of the center of one half. If baking a second cake, cut circle out of center of just one of them, and leave the other whole.
10. Cut the circle (that you cut out of the cake or half the cake) into cubes.
Pastry Cream:
Ingredients:
- 1 1/2 cups whole milk
- 1 vanilla bean (alternatively, use 1 1/2 tablespoons vanilla extract)
- 1 large egg
- 2 large egg yolks
- 6 tablespoons sugar
- 1/4 cup all purpose flour
- 2 tablespoons unsalted butter
Directions:
1. Pour the milk into a medium saucepan and add the vanilla bean, if using. Heat until the milk is just simmering, remove from heat and let seep for one hour, to intensify vanilla flavor.
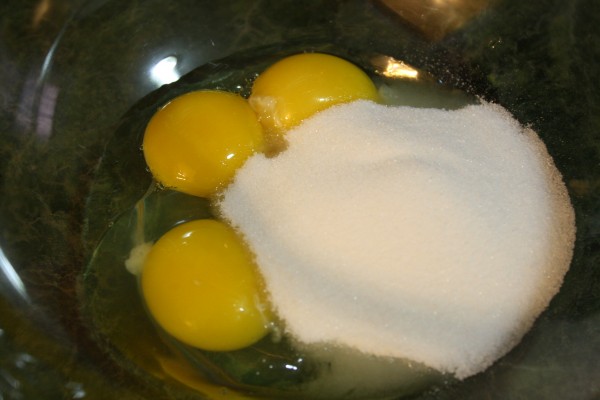
2. In a medium bowl, whisk together egg, egg yolks, and sugar until smooth.
3. Add the flour and whisk some more, until smooth
4. Pour about 1/2 cup of the milk into the egg mixture, whisking constantly to temper the yolks. Pour back into the sauce pan (while whisking, of course)
5. Heat the mixture, whisking constantly, until it reaches a boil. Cook for another minute until the cream is very thick.
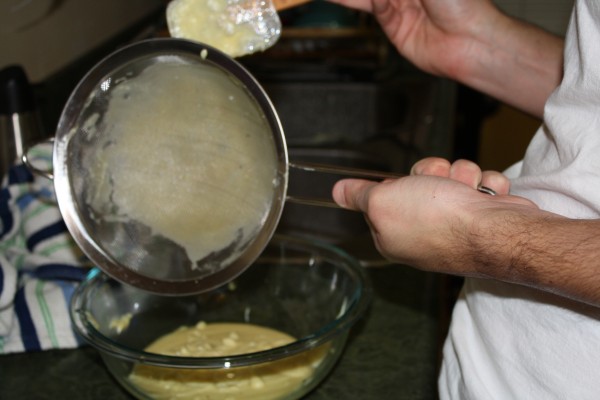
6. Remove from heat and whisk in the butter and vanilla extract, if using. Strain it over a bowl and place plastic wrap directly on surface of the cream. Cool completely either in a bowl of ice water or in the fridge.
Chocolate Ganache:
Ingredients:
- 10 ounces bittersweet, semisweet or milk chocolate (whichever you like best), finely chopped (or you can cheat like me and use chocolate chips)
- 10 ounces whipped cream (a little less than 1 cup + 2 tablespoons)
Directions:
1. Place the chocolate in a medium bowl.
2. Heat the cream in a small saucepan over medium heat until it just begins to boil. Mix to make sure it doesn’t burn.
3. Pour the cream over the chocolate and let sit for one minute.
4. Gently whisk until ganache is completely smooth.
5. Let sit for 15-20 minutes before pouring over the cake, this will make sure it is the right consistency to use as a glaze.
To Assemble:
1. Take wax paper and tear into small pieces.
2. Place full layer of cake on a cake plate (or whatever you’re serving the cake on) and tuck the wax paper underneath the cake, making sure you cover the cake plate.
3. Put about 2 tablespoons ganache on top of cake and spread an even layer over the top of the cake.
4. Place cake with cut-out circle on top of ganache.
5. Fill the hole with all of the pastry cream.
6. Top with cake cubes, making sure to balance all of them.
7. Pour ganache over the cake, making sure to use all of it, and to cover the cubes in chocolate.
8. Let sit for at least an hour, allowing the ganache to harden a bit. Serve and enjoy!!

