I bet you’re all in the kitchen, getting ready for Shavuot? Well, my favorite part about this Shavuot is the dairy desserts, since it’s our minhag to eat dairy during this chag, instead of the traditional meat holiday meals. But I’m not sharing a dessert with you now, we have plenty of those. I’m going to share a simple side dish instead. (Note: you can never have too many recipes for desserts! Especially ones loaded with cream and butter. But alas, we’ll share those with you some other time.)
I’d like to introduce to you my new obsession: braised leeks!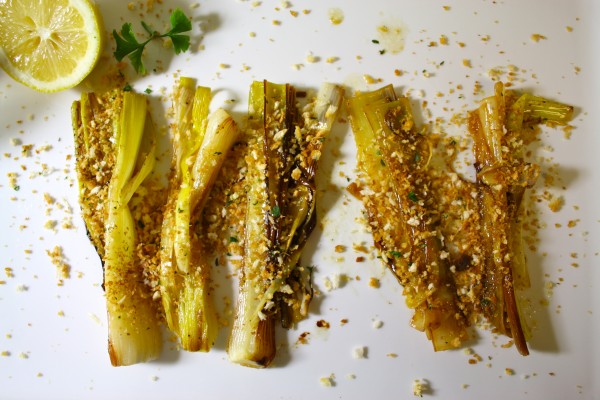
We already know that I love leeks. Like in this lamb and leek hotpot, or this leek-fried rice. But those have other ingredients, in this recipe, the leek really is the star of the show!
And it’s so simple to make, too. I’d say the hardest part is washing the leeks. You don’t want to crunch on any sand!
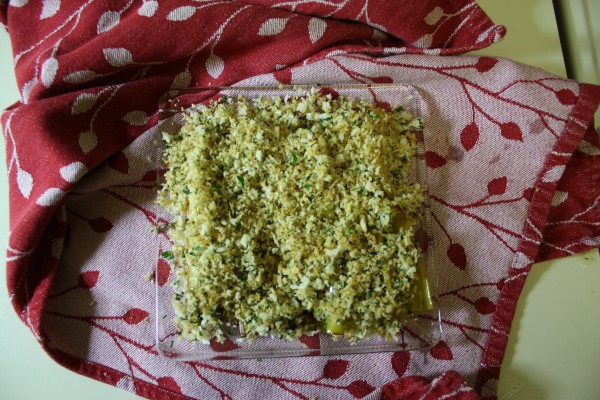
While the leeks are braising, you toast up a yummy topping to serve with them, which gives a nice crunchy contrast to the soft, sweet leeks.
Buttery Braised Leeks from Food52
Ingredients:
- 2 leeks, trimmed, cleaned and halved lengthwise
- 1 tablespoon of olive oil
- 1 tablespoon of butter
- Juice of 1/2 a lemon
- Salt and pepper to taste
- 1/4 cup panko breadcrumbs
- 1 tablespoon parsley, finely chopped, leaves only
- 2 tablespoons grated Parmesan
- 1 pinch salt and pepper to taste
Directions:
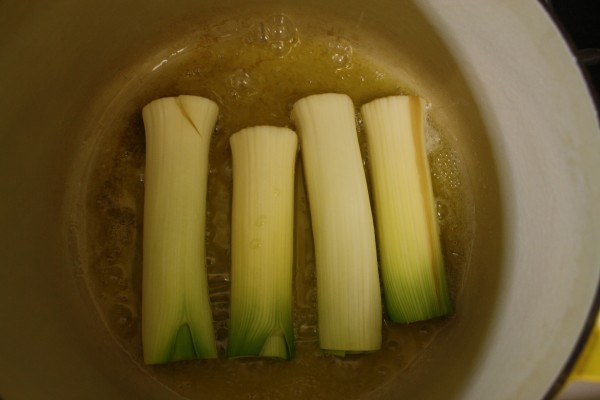
- Melt the butter and olive oil over a medium-high flame in a large sauté pan. Once the oil and butter are hot, place the leeks cut side down into the pan. Let the leeks brown in the pan for 4-5 minutes.
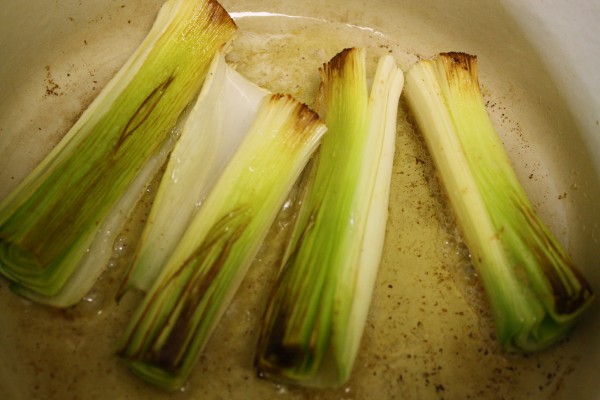
- Carefully flip the leeks over and turn the heat on low. Cover and let the leeks braise for about 25-30 minutes or until the leeks are soft all the way through.
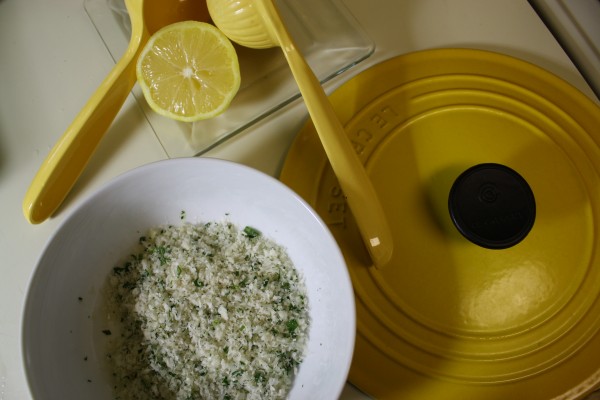
- Meanwhile, combine panko with parsley, Parmesan, and salt and pepper in a small dish.
- In a dry skillet over medium heat, toast the panko mixture until golden brown.
- Take the leeks off the heat and squirt the lemon juice over the braised leeks and add salt and pepper to taste.
- Sprinkle the leeks with the panko topping and serve.


Pingback: Menu Plan: Week of May 26, 2013 « More Quiche, Please()