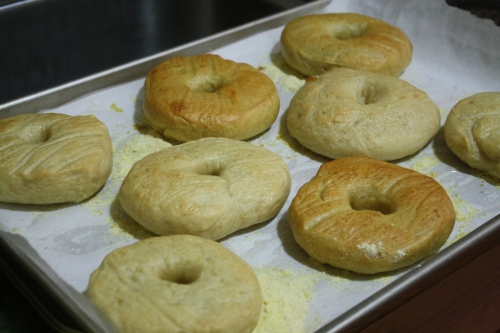
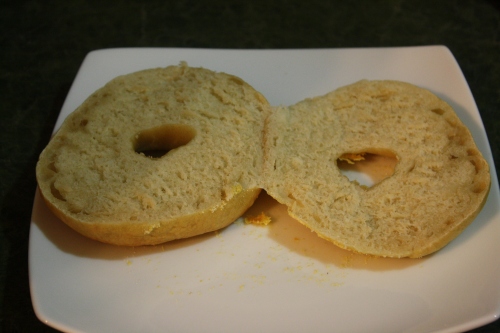
Happy 2010! What a great way to start the new year…with a giant baking project!
Bagels have been on my baking to-do list for a really long time. I live in New York, so it’s pretty easy to get a decent bagel. I’m also pretty busy with work and school, and bread-baking is a bit time consuming. Bagel baking is even more time consuming, and therefore not a priority. I keep it on my list, though, and often read recipes for bagels, wishing I could make them.
Then finally winter break comes along! It’s 23 degrees out! The best thing to do is stand in the boiling hot kitchen and bake all day. So bagels it is. I only made plain bagels, but if you want sesame, poppy, onion, garlic, salt, etc. just add the toppings after boiling.
The recipe is Peter Reinhart’s from The Bread Baker’s Apprentice. You can also find it here, here, here, here, and a lot more places…It has a good reputation, so I decided to try it. There are other bagel recipes out there, so maybe I’ll try a different one next time.
Ingredients:
For the sponge:
(I didn’t have instant yeast, so I just proofed the yeast in 110 degree water before making the sponge. The recipe really says to use instant, but this wasn’t too much harder.)
- 1 teaspoon instant yeast
- 4 cups unbleached bread flour
- 2 1/2 cups warm water
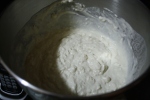
1. Mix together in giant bowl and cover. Let sit for 2 hours, until bubbly and spongy.
For the dough:
- 1/2 teaspoon instant yeast
- 3 cups unbleached bread flour
- 2 3/4 teaspoons salt
- 2 teaspoons malt powder (I didn’t have this, so I used a tablespoon of brown sugar instead)
- 3/4 cup bread flour
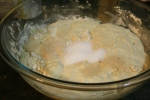
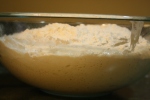
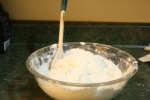
2. Add the yeast, flour, salt, and malt to the sponge. Mix together. Use a wooden spoon, your hands, or a stand mixer. Sprinkle the 3/4 cup flour on top after mixing and mix more. This stiffens the dough. I tried using my Kitchen Aid here, only to realize that it was WAY too much for it to handle. I took it out, for fear of breaking the motor, and mixed by hand.
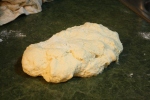
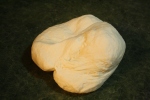
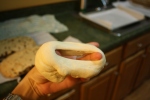
3. Pour dough onto the counter and knead for 10 minutes (this is a crazy workout!). If you have a strong enough mixer, knead for 6 minutes. Make sure all ingredients are incorporated, and do the window pane test. Divide the dough into 4 1/2 ounce pieces…oh wait, don’t have a food scale, like me? Divide the dough into 12 seemingly even pieces…I actually divided it into 15 because I wanted slightly smaller bagels. Form into balls and cover with a damp towel. Let rest for 20 minutes.
4. Line sheet pans with parchment paper and spray with cooking spray.
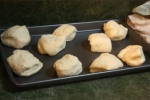
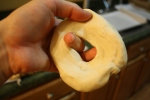
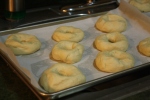
5. Shape bagels by poking a hole in the center of the ball and stretching it out, making sure the bagel is even all around. This wasn’t as hard as I thought it would be. Place the bagels on the baking sheets, about 2 inches apart from each other. Cover with plastic and let rest for 20 minutes.
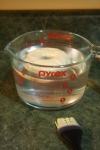 6. Float test! This is the part where you check if the dough is ready to rest in the fridge. Fill up a bowl with room temperature water and drop one bagel inside. Does it float (in less than 10 seconds)? Then they’re ready! Place in the fridge to be baked off tomorrow. If not, let rest for another 10 minutes before trying again.
7. Preheat the oven to 500 degrees.
8. Bring a large pot of water to a boil and add a tablespoon of baking soda and barley syrup, if you have it.
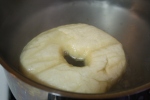
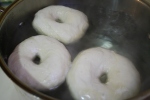
9. Take the bagels out of the fridge and gently drop them into the boiling water. Only boil as many bagels as will fit. After one minute, flip. Boil the other side for a minute.
10. Sprinkle the baking sheets with cornmeal.
11. When the bagels are done boiling, bake the bagels for 5 minutes. Decrease the temperature to 450 degrees and rotate the pans. Bake another 5 minutes.
12. Let cool 15 minutes before eating.
Eat it plain, or with cream cheese, or butter (or cream cheese and butter!), lox, tuna, or whatever you eat on a store-bought bagel!
What’s your favorite way to eat a bagel? And where is your favorite place (in NYC or elsewhere) to buy bagels?
Wishing all of our readers out there a wonderful 2010. This year, we plan on bringing you more recipes and more adventures, so stay tuned!


