Butter Pecan Ice Cream

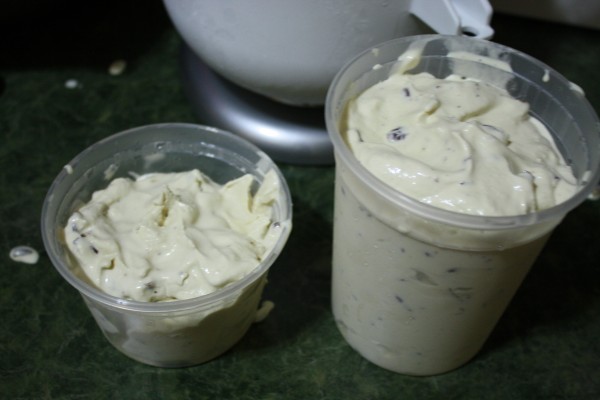
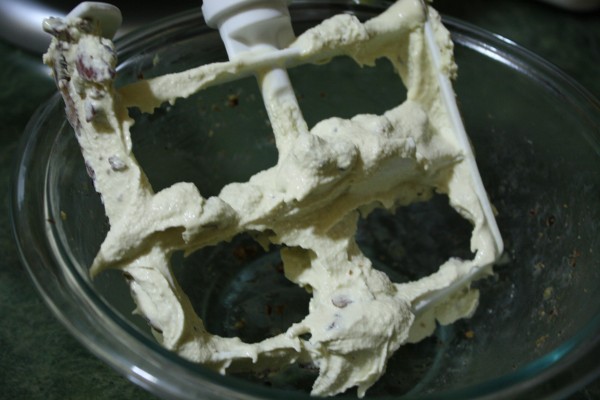
For some reason, I decided I really wanted to make butter pecan ice cream. I bought the pecans. I had the cream, milk, eggs, and brown sugar that I needed. I had some butter in the freezer. I just didn’t have the recipe. I searched and searched and finally came up with one that seemed okay. I didn’t use it. Instead I combined some of my own ice cream knowledge and came up with this recipe. It’s awesome.

Ingredients:

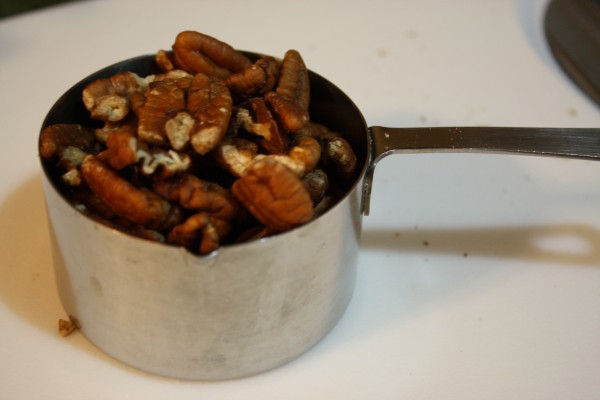
  • 2 cups pecans, chopped
  • 3 tablespoons unsalted butter, softened
  • 1/4 teaspoon kosher salt
  • 1 cup whole milk
  • 2 cups heavy cream
  • 2/3 cup brown sugar
  • 5 egg yolks
  • 1 teaspoon vanilla extract

Directions:

1. Place pecan on baking sheet and roast for about 7 minutes, until they turn brown and fragrant.

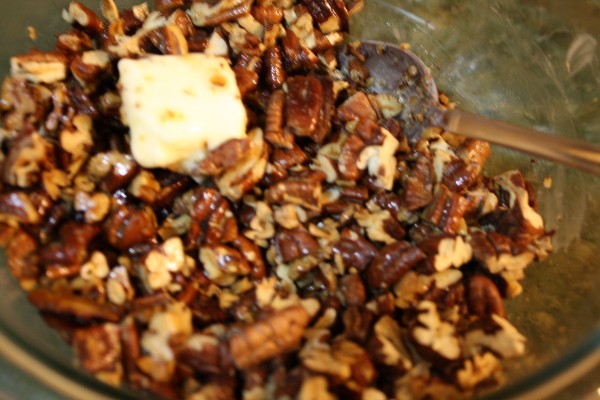
2. When the come out, immediately add the butter and salt to them. Mix. Set aside.

3. Heat the milk over medium heat.

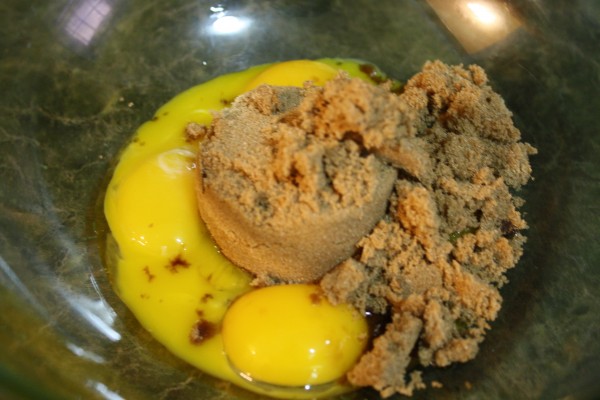
4. While the milk is heating, combine the eggs yolks and brown sugar. Whisk until combined.

5. Add the half milk to the egg mixture slowly, bringing up the temperature. Then, add the egg mixture back into the saucepan with the rest of the milk. Heat over medium-low heat until the mixture thickens a bit.

Peanut Butter and Jelly Bars

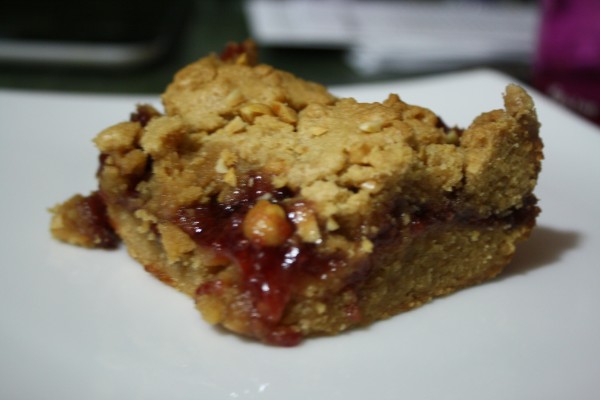
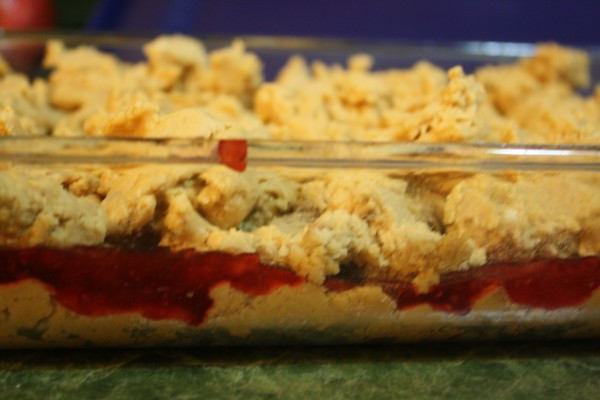
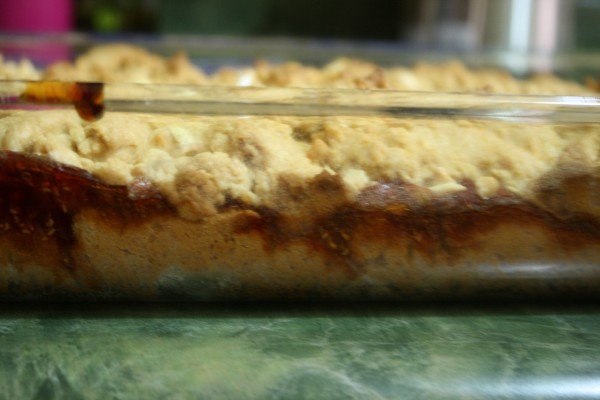
It’s kind of like a peanut butter and jelly sandwich without the bread. And with a lot more peanut butter. And a little more amazing. Use your favorite jam (oh, use some of the homemade stuff if you want this to be even more decadent!)

I made these pareve, and used earth balance shortening and natural peanut butter. I actually use Skippy brand because 1. it was on sale, and 2. it is much creamier than most natural peanut butters. And though that’s not what I always prefer in pb&j sandwiches, it’s definitely better for the texture of the cookie. No trans-fats in this recipe! Use butter if you want it to be even more amazing, but then you can’t serve it to your family after Friday night dinner.

Peanut Butter and Jelly Bars, adapted from Ina Garten:

Ingredients:

  • 1/2 pound earth balance, or your favorite natural margarine or shortening (or butter, of course!)
  • 1 1/2 cups sugar
  • 1 teaspoon vanilla extract
  • 2 eggs
  • 2 cups (18 ounces) peanut butter
  • 3 cups all purpose flour
  • 1 teaspoon baking powder
  • 1 1/2 teaspoons kosher salt (unless you have really salty peanut butter. then just leave it out)
  • 1 1/2 cups (18 ounces) jam. I used raspberry, but use your favorite flavor)
  • 2/3 cups roasted salted peanuts, chopped

Directions:

1. Preheat the oven to 350 degrees.

2. Grease and flour a 9×13 cake pan (I used a pyrex)

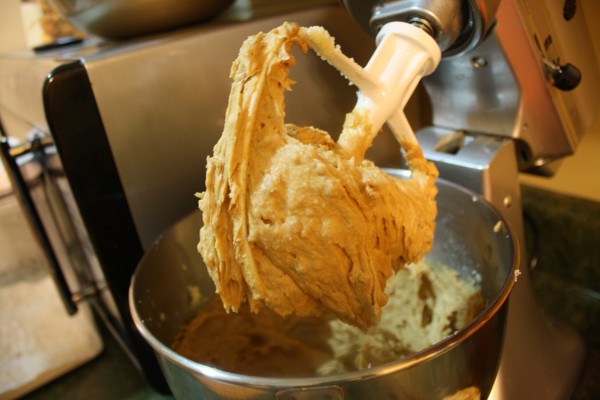
3. In the bowl of your electric mixer with the paddle attachment, cream the butter and sugar together on medium until they turn light yellow, about 3 minutes.

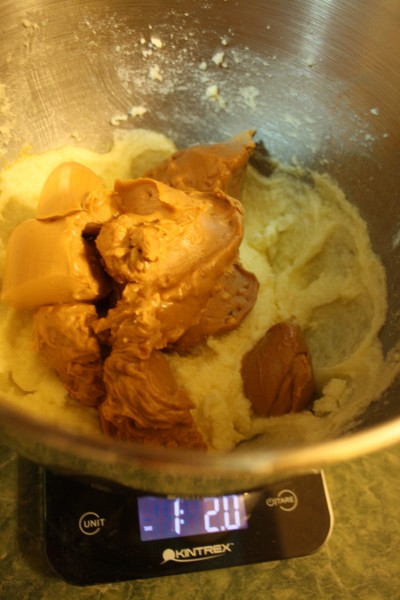
4. Add the eggs, one at a time, then add the vanilla and peanut butter. Mix until just combined.

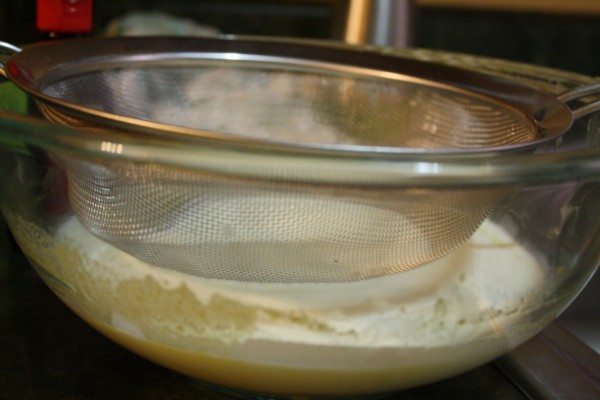
5. Sift together the flour, baking powder, and salt in a small bowl.

6. Add the flour mixture to the wet with the mixer on low. Mix only until just combined.

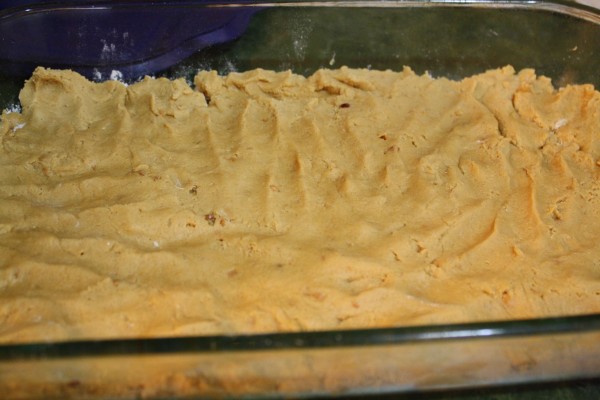
7. Spread about 2/3 (just eyeball it) of the batter to the bottom of your baking pan. Smooth it out and make sure it’s even using a knife or spatula.

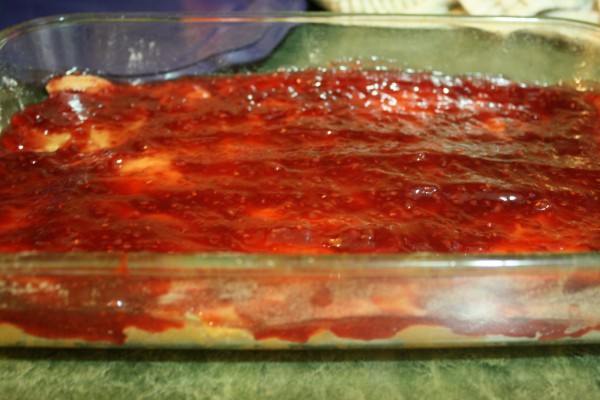
8. Spread the jam on top, evenly.

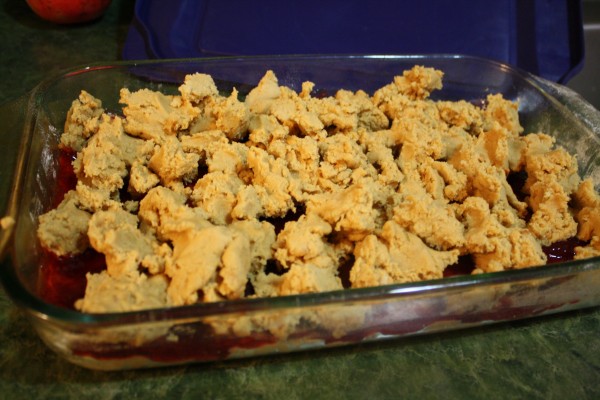
9. Take spoonfuls of the batter and drop the rest on top of the jam. Don’t worry if the jam layer is not completely covered, the dough will spread during baking.

10. Sprinkle with the peanuts.

11. Bake for 45 minutes, until golden brown.

12. Let cool before cutting into bars (or else they’ll fall apart and crumble – they’ll still taste good, though!). I cut them into 24 bars. They’re really decadent, so they don’t have to be big to be enjoyed!

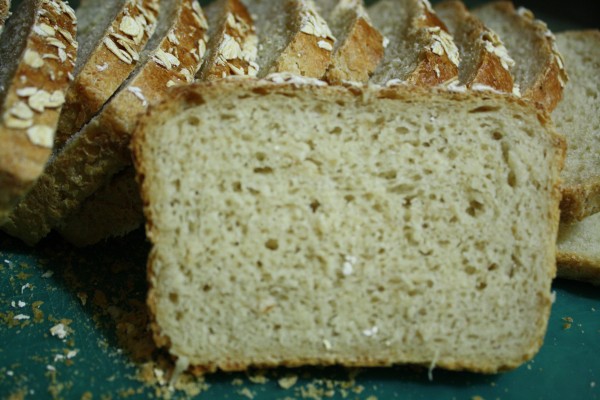
Oatmeal Bread

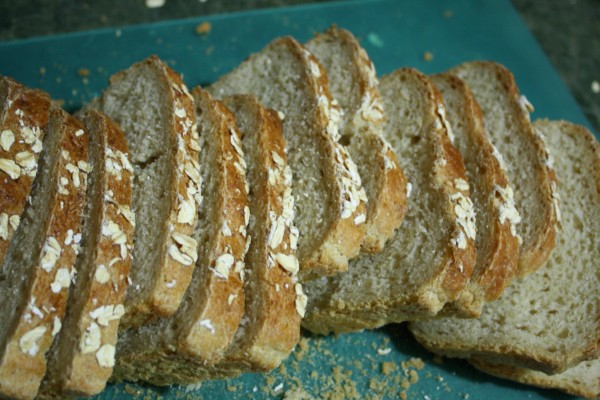
I love baking bread. It just makes the house smell so good. And I know it doesn’t have ingredients I can’t pronounce in it. It also allows for some really easy lunches – sandwiches! Though I’ve tried many bread recipes, my go-to recipe is always Amish white bread. It has the soft texture and flaky crumbiness that just works. I try to have some slices in my freezer at all times. Sometimes, I want some variety, though. Whole wheat bread, rye bread, and  sourdough bread are great, but oatmeal bread? That’s something new to me. So when I saw Alton make bread using leftover oatmeal, I just knew I had to try it. And I did, the very same day. I didn’t eat oatmeal for breakfast, though. I cooked it just for use in the recipe. It was definitely worth it.

This bread is amazing with some salted butter or fruity jam. It’s great for breakfast, and healthy, too! Put some in the freezer for fresh bread the entire week. Those oats are good for your cholesterol, according to the Cheerios commercial. This is a bread that I’ll definitely be keeping in my bread-baking rotation. I might double the recipe next time, though. It takes a lot of time to only yield one loaf. And maybe try to make it in my mixer because after being spoiled by my dough hook, kneading by hand gets tiring (though it wasn’t nearly as hard as kneading bagels).

Oatmeal Bread, adapted from Alton Brown:

Make one loaf – I got 16 slices.

Ingredients:

  • 2 1/4 teaspoons active dry yeast (or 1 packet)
  • 11 ounces bread flour, plus more for dusting
  • 1/4 cup uncooked rolled oats
  • 1 teaspoon kosher salt
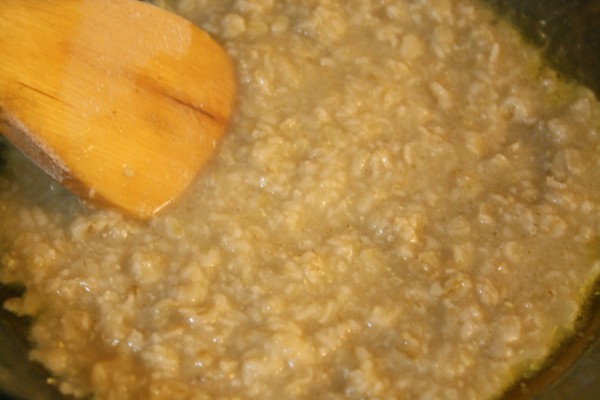
  • 12 ounces cooked oats (to make this, use 3/4 cup oats and 1 1/2 cups water), at room temperature (you don’t want to kill that yeast!)
  • 1/4 cup warm water
  • 2 tablespoons agave syrup (I used one tablespoon honey because I ran out of agave. Use both honey if you don’t have agave, or substitute with sugar)
  • 1 tablespoon olive oil
  • 1 tablespoon raw oats
  • 1 egg + water, for eggwash

Directions:

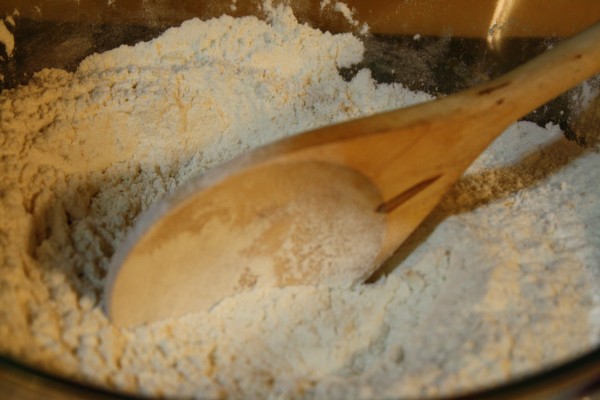
1. Combine yeast, flour, 1/4 cup uncooked oats, and salt in a small bowl. Set aside.

2. Combine cooked oats, agave, water, and oil in a large mixing bowl.

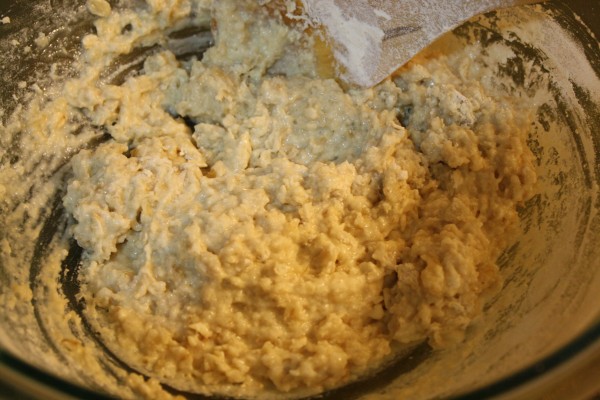
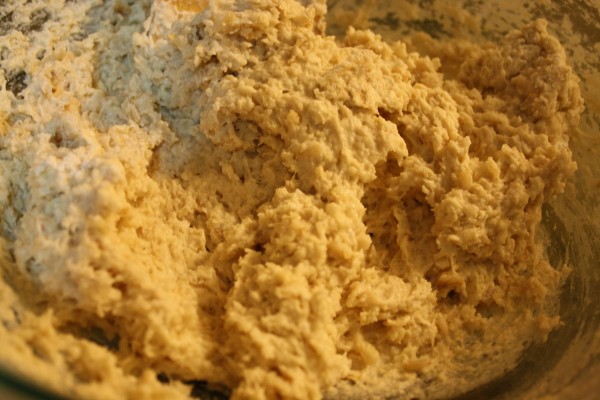
3. In three increments, add dry ingredients to wet. Mix with a wooden spoon until completely incorporated.

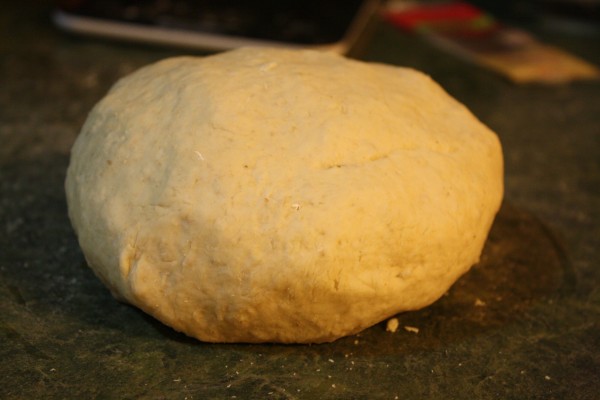
4. Knead by hand on a floured surface for about 10 minutes, until the dough is smooth. Add more flour if it’s too sticky.

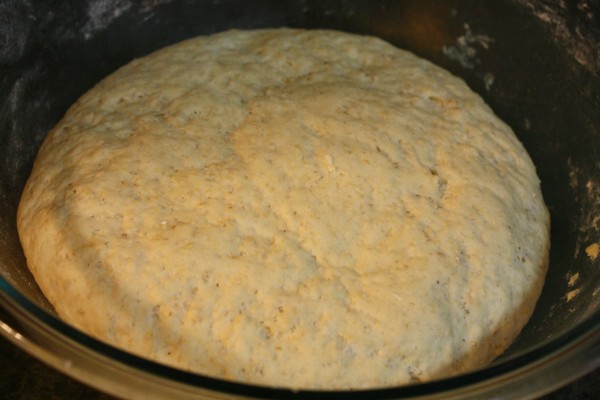
5. Oil bowl, add dough, and cover. Let rise for an hour.

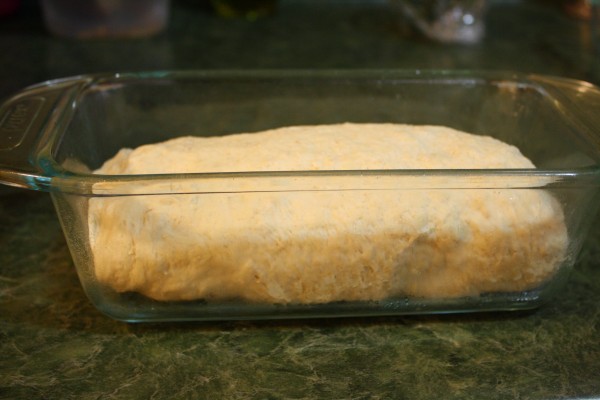
6. Punch down dough and shape into loaf. Place in greased loaf pan.

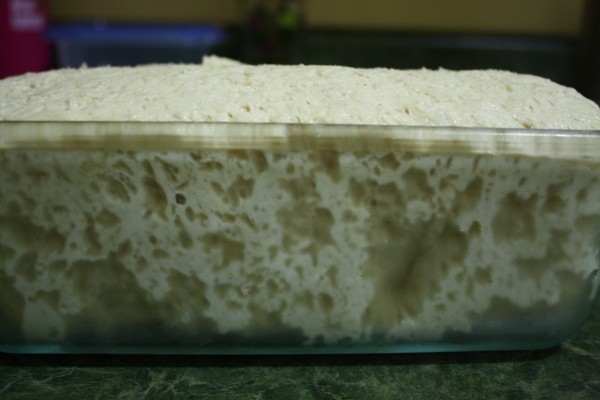
7. Cover in plastic wrap and refrigerate overnight, or for at least 8 hours.

8. Heat the oven to 350 degrees.

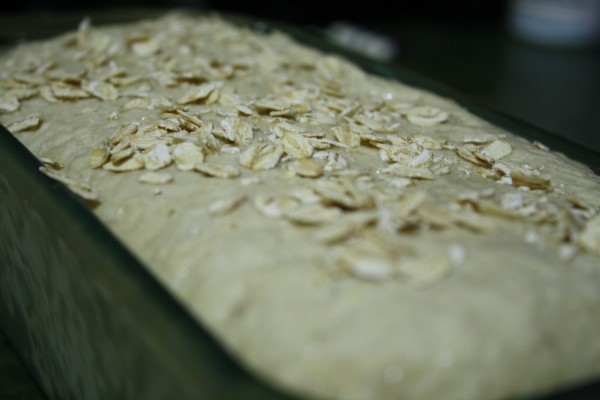
9. Combine the egg yolk and water in a small bowl. Brush the top of the loaf with egg wash and sprinkle with the remaining tablespoon of raw oats.

10. Bake for 55 minutes to 1 hour (actually it took me 1 hour, 10 minutes), until the internal temperature of the dough reaches 210 degrees.

11. Cool on rack for 30 minutes before slicing.

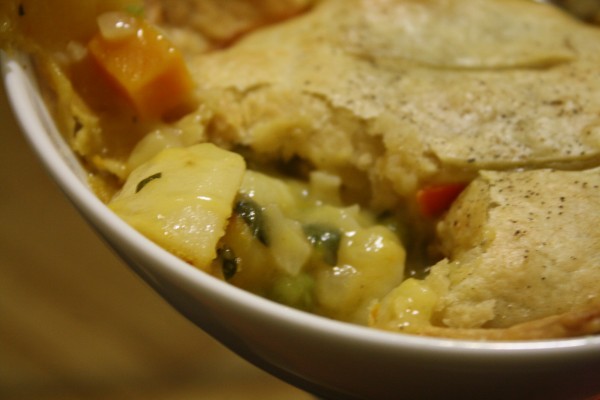
Meatless Mondays: Vegetable Pot Pie

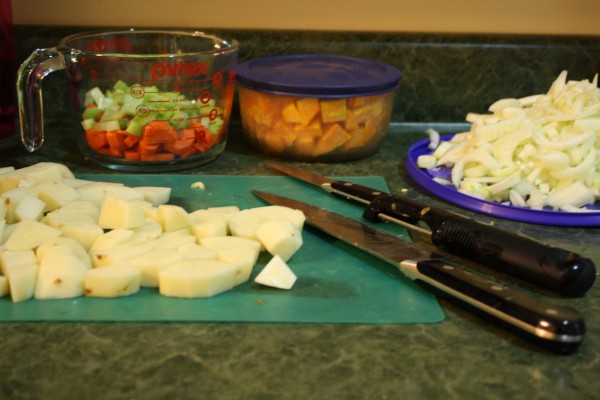
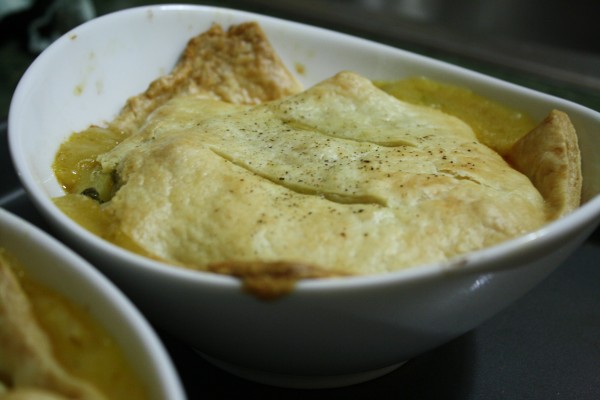
Another Ina meal. What can I say, she has such fabulous recipes that are perfect just the way they are, but also really easy to tweak. This one needed some tweaking. A vegetarian recipe using chicken stock? What’s the point! So I used store-bought vegetable stock…don’t worry, all this chopping and peeling let me make 3 quarts of my own vegetable stock for next time.

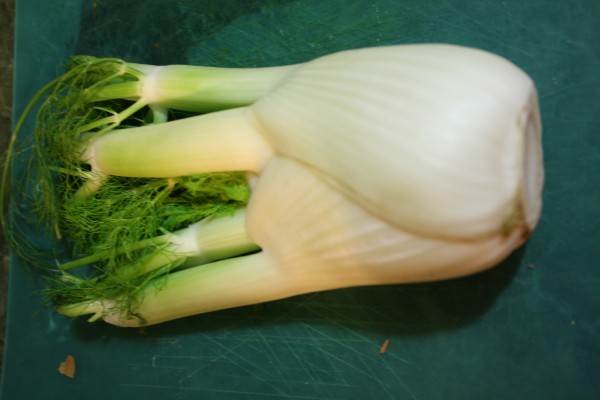
I also switched around the vegetables (but of course kept the butternut squash, because it’s my favorite. Can you tell?) and omitted some ingredients that I didn’t have – Pernod? No thanks. The fennel gives enough anise flavor for me. And while I know saffron gives a great color and flavor, I can’t bring myself to spend the money on it. Maybe if someone buys it for me I’ll try it next time.

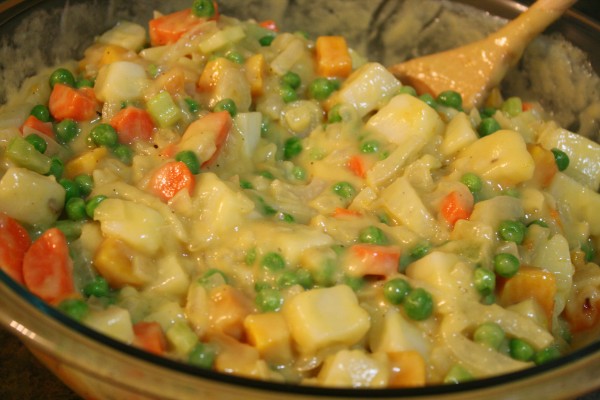
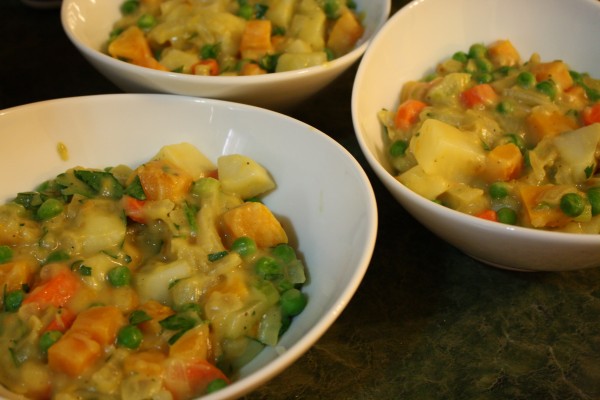
Recently I’ve been craving chicken pot pie. I see recipes in cookbooks and on TV and think it just sounds so good. With this cold weather here, a big bowl of steaming veggies covered with flaky pie crust is just what we need for a 1-bowl dinner. It’s also a hearty way to make a Meatless Monday meal!

Vegetable pot pie, adapted from Ina Garten:

  • 2 yellow onions, chopped
  • 1 fennel bulb, sliced
  • 6 tablespoons butter
  • 1/4 cup olive oil
  • 1/2 cup flour
  • 1 1/2 cups butternut squash, cubed
  • 1 1/2 cups carrots, chopped
  • 1 cup celery, chopped
  • 3 potatoes, peeled and diced
  • 1 1/2 cup frozen peas
  • 1/2 cup parsley, finely chopped
  • 2 cups vegetable broth
  • 3 tablespoons heavy cream
  • Kosher salt
  • Pepper
  • 1 recipe flaky pie or tart dough, or your favorite pie crust

Directions:

1. Make sure all your vegetables are chopped to the same size.

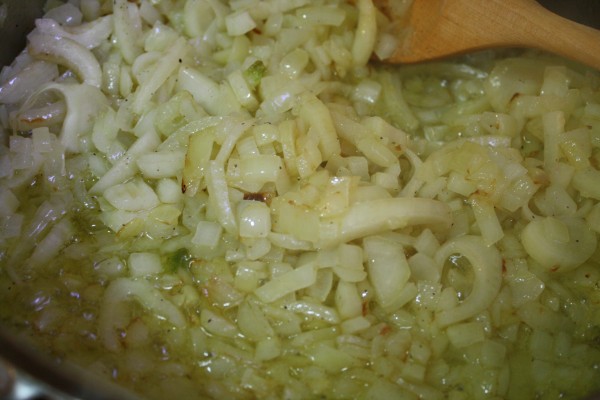
2. Combine the butter and olive oil in a large pot and add onions and fennel. Saute over medium heat for ten minutes, until lightly browned.

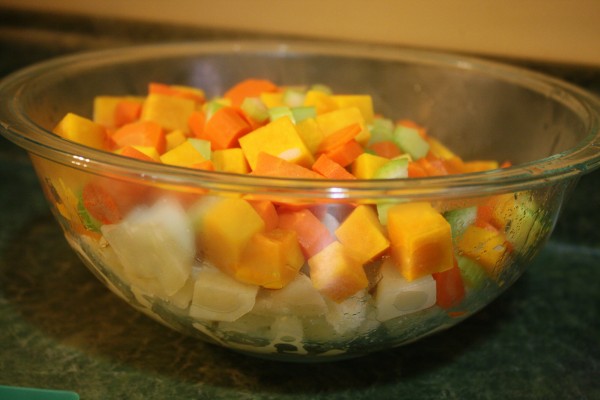
3. While the onions are browning, bring a pot of water to a boil. Boil the potatoes for ten minutes and remove with a slotted spoon to a bowl.

4. Boil the butternut squash, carrots, and celery for five minutes. Drain and add to bowl.

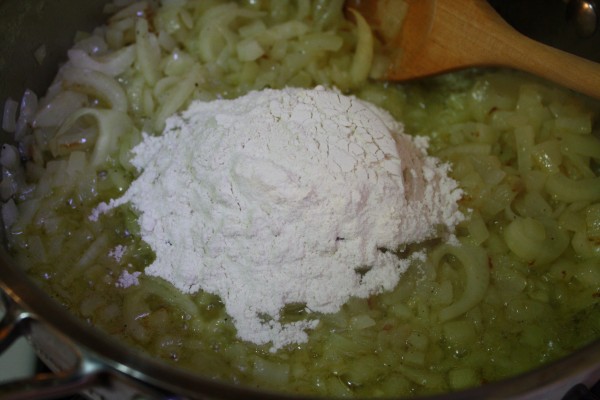
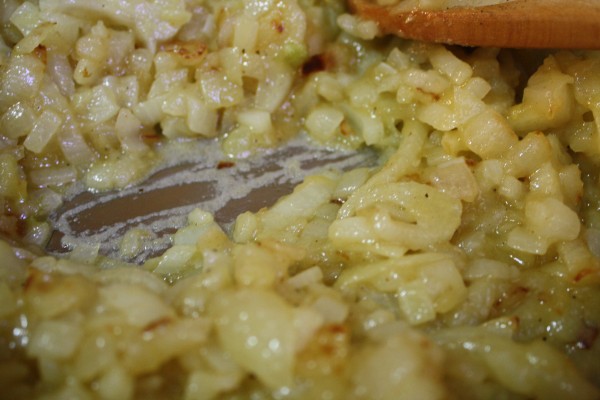
5. Add flour and mix. Turn heat to low and cook for 5 minutes, until all the flour is absorbed. Mix occasionally.

6. Pour vegetable broth into pan and mix until thickens.

7. Add vegetables, including peas, into sauce.

8. Add parsley and mix.

9. Divide dough into six oven-proof bowls or two nine-inch pie plates.

10. Cut dough into 6 pieces. Roll each piece flat. Wet edges of bowl, and place pie crust over the bowl.

11. Brush will egg wash, and sprinkle with salt and pepper.

12. Bake at 375 degrees for an hour until the top is crispy and the vegetables are bubbly and hot. Let cool for about ten minutes, because it’s going to be very hot!

Spiced Apple Cider

I love apple cider, and especially love it from the farmer’s market. If I’m stuck at home, though, this will have to do. On a cold winter night, it’s sometimes better than hot chocolate. We can make this delicious stuff all through the winter. I know it’s not technically winter yet, but it’s cold enough here in New York now to call it winter!

No, I didn’t make the apple cider on my own. But I did add ingredients to it to make it extra special; the whipped cream is a must. Continue reading

Superb Butternut Squash Soup

I remember watching Jamie Oliver on the Food Network, back when he was the Naked Chef. Well, he wasn’t actually naked, which is why I wasn’t surprised when they changed the name of his show (or did they just start a new one) called Oliver’s Twist. Anyway, he would “strip down” recipes so that they were really just the essentials of cooking. No fancy gadgets or ingredients, just great homemade food. Now he’s never on the Food Network anymore, and I don’t get the Cooking Channel, so I never see him on TV. I can’t even watch the reruns of his show Jamie at Home. But I can still get most of the recipes on the Food Network website, which makes me happy. His recipes are simple and tasty, and he doesn’t use any gross ingredients; it’s mostly natural, earthy food. His recipes really bring out the essential flavors of the main ingredients.

And this is why I was so excited to make this soup recipe. I love Jamie Oliver and I love butternut squash! It’s definitely my favorite winter squash, even though it’s a pain to peel and chop. Everything else about it is just perfect, an my favorite way to eat it is in soup form. Something about butternut squash soup just makes me smile.

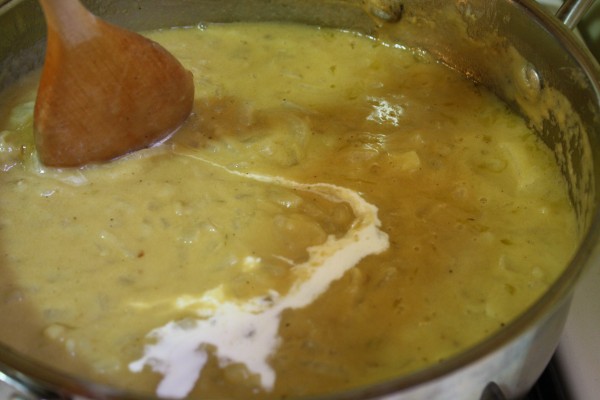
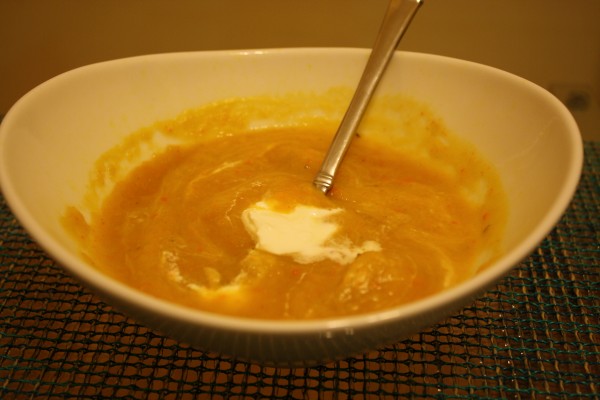
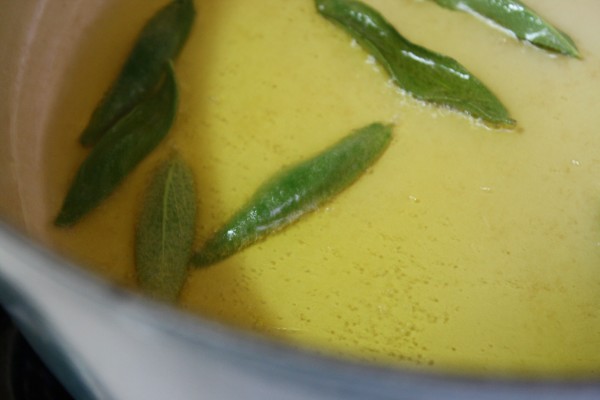
Sage is a classic combination with butternut squash, and infusing the oil with that flavor imparts a wonderful undertone to the soup. The sage on top adds a great crispiness. I ate a lot of those sage chips before serving the soup. Oops. Hence the lack of crispy sage on top of the soup in the picture. It’s delicious with a teaspoon of sour cream mixed in, too. Just so you know.

Superb squash soup, adapted from Jamie Oliver (serves 8):

Ingredients:

  • 16 fresh sage leaves
  • 2 red onions, peeled and chopped
  • 2 sticks of celery, chopped
  • 2 carrots, peeled and chopped
  • 4 garlic cloves, peeled and chopped
  • 1/2 jalapeno pepper, seeds taken out and chopped
  • Kosher salt and freshly ground pepper
  • 2 medium butternut squash, peeled and cut into chunks
  • 2 quarts vegetable stock
  • Extra-virgin olive oil

Directions:

1. Heat large saucepan over medium heat and pour in some olive oil, enough to cover the bottom.

2. When it’s hot, throw in the sage leaves and fry for about 30 seconds, until crispy. Remove with a slitted spoon and drain on paper-towel lined plate.

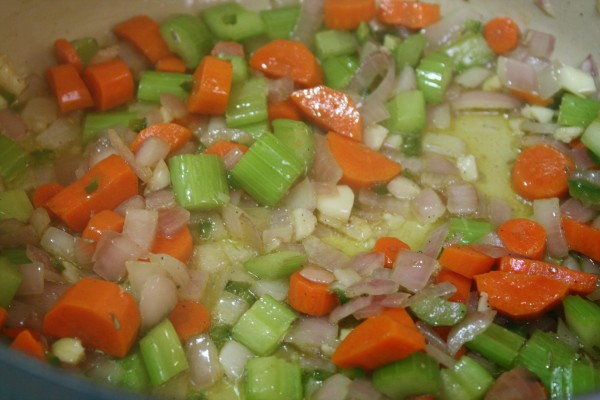
3. Add your celery, onion, and carrot, garlic, and jalapeno to the pot. Add salt and pepper. Cook for 10 minutes until the vegetables are soft.

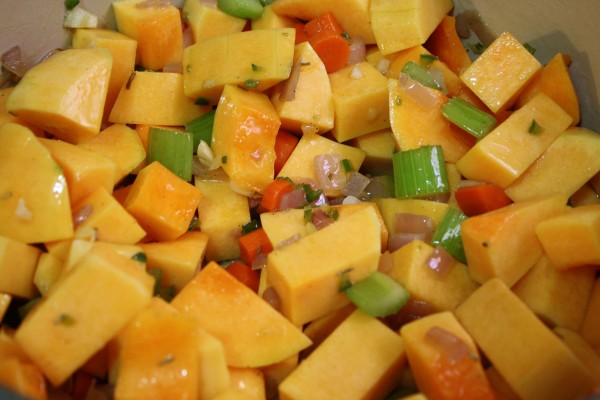
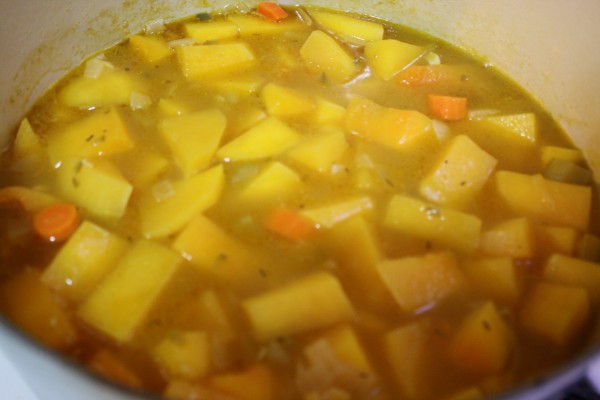
4. Add the squash and stock. Bring to a boil, then lower the heat and simmer for 30 minutes.

5. When the squash is soft, blend the soup using an immersion blender until you have a smooth puree (or as chunky as you like it).

6. Ladle into bowls and sprinkle the sage leaves on top.

7. Serve with croutons if you want (that’s how Jamie Oliver did it).

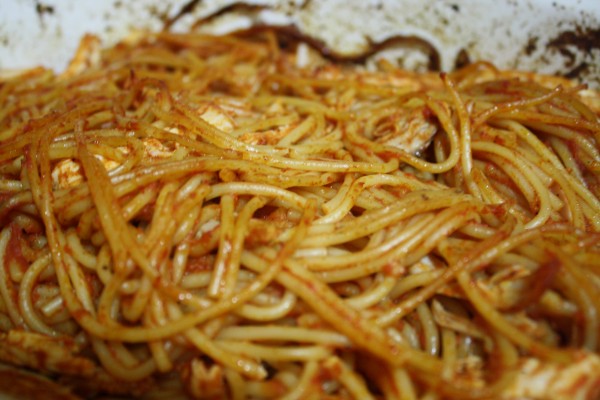
Chicken and Spaghetti

Chicken and spaghetti was always a Friday night staple in our home. Though Poopa Dweck’s book states that it’s a Syrian custom to not eat this dish for Shabbat dinner because it’s a sign of bad luck, my family’s been eating it for years, and I don’t think we’re any less lucky than other people out there. So If you’re superstitious, make it on a weeknight. It’s a good meal with just a small side salad or vegetable. If you’re not superstitious, or just want to make a main course that consists of a carb and a protein (does the tomato sauce count as a vegetable?), then make this for Shabbat dinner. Your guests and family will fight over the crispy burnt edges.

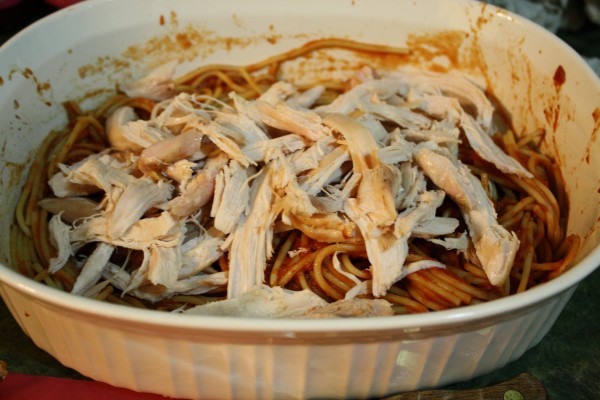
When my mother makes this, she always leaves the chicken pieces whole. This way, it’s easier to eat just the spaghetti, which I often like to do (especially when there’s chili on the table – chicken and spaghetti chopped with some chili is awesome). I sometimes shred the chicken into the spaghetti, so that every bite has a little bit of chicken and a little bit of spaghetti. I find that the chicken also stays more moist this way and soaks up the flavor of the sauce more. Try it both ways and let me know which you prefer. Remember if you’re shredding to be careful to remove all the bones and stuff. No one wants a mouthful of spaghetti and chicken bones!

And Spaghetti!

  • 1 pound spaghetti
  • 1 chicken, cut into eighths (bone in, skin on)
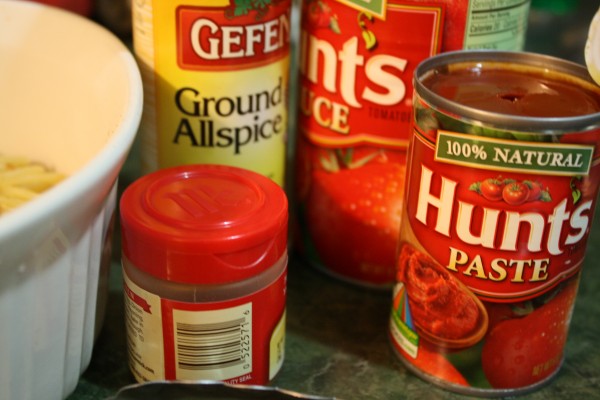
  • 1 6-ounce can tomato paste
  • 1 8-ounce can tomato sauce
  • 1/2 teaspoon allspice
  • 1/2 teaspoon cinnamon
  • 1/2 teaspoon paprika
  • Kosher salt

Directions:

1. Preheat oven to 400 degrees

2. Place chicken on baking sheet and toss with olive oil, salt, and pepper. Roast for 35 – 45 minutes, until cooked. Then let cool and shred, cut, or leave whole. Save the chickeny oil and juice!

3. While chicken is roasting, boil spaghetti in very salty water for one minute less than stated on the package.

4. Drain the spaghetti.

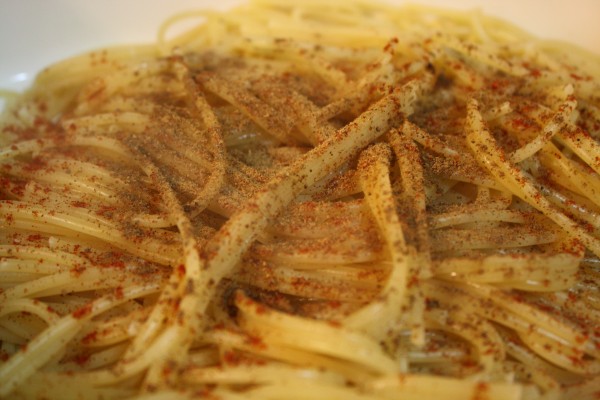
5. Place spaghetti in roasting pan and add the tomato sauce, tomato paste, spices, salt, and some pepper. Mix well.

— Now you have what we like to call “And Spaghetti” which is the BEST Friday afternoon snack ever.

6. Add the chicken (pieces, shreds, whatever you decided) and the chicken juice and mix well.

7. Cover and roast in a 350 degree oven for 1 hour, until the edges are crusty and the middle is soft.

Duck Confit

Happy Thanksgiving, dear readers!
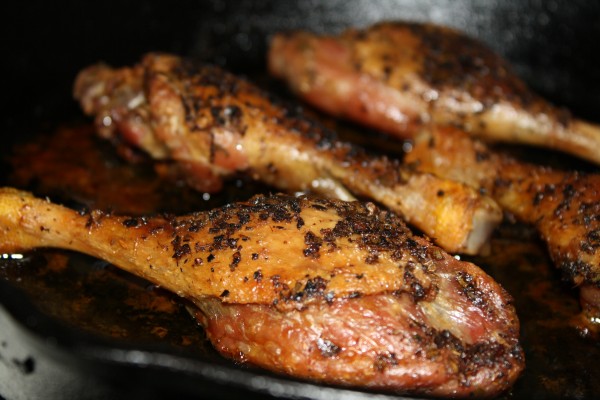
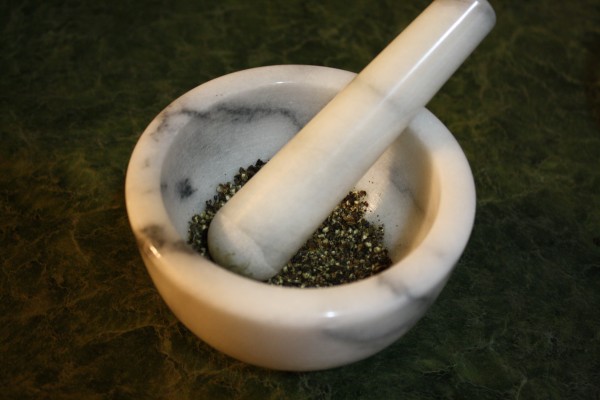
And so my duck experiments continue! Duck confit is a daunting dish, but not when you do it this way. The day of curing and hours of cooking make it succulent, rich, and really crispy! This is definitely my favorite way to prepare duck for a few reasons. First, I got to use my mortar and pestle. Second, it’s crispy but not disgustingly greasy. And third, you get to save the duck fat for future uses! From sauteeing stew vegetables to cooking potatoes, the duck fat possibilities are endless.
What, were you expecting a turkey recipe for Thanksgiving? Turns out, we’re pretty sure they served duck at the first Thanksgiving (along with wild turkey, not the same as the ones we usually see at the Thanksgiving buffet nowadays). I decided to follow tradition.  No, not really our tradition, because my ancestors were probably in Syria at the time, but the tradition of our country.
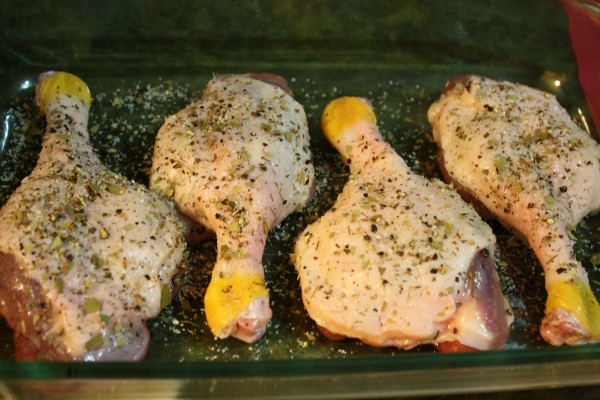
Remember, if you make this dish for thanksgiving, you need to change the song:

Happy Thanksgiving, hooray hooray hooray!

Aren’t you glad you’re not a duck on this Thanksgiving Day.

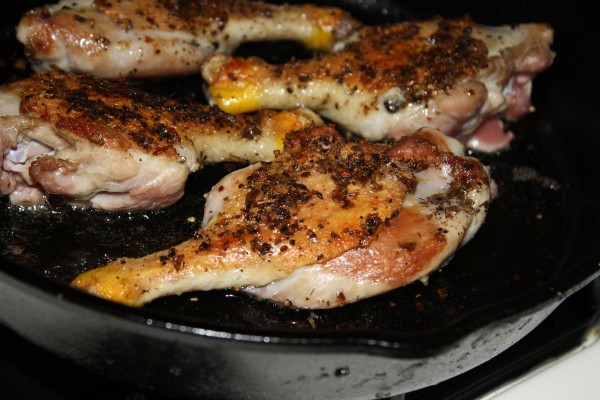
[Why doesn’t my picture look anything like the one in the Times photo?]
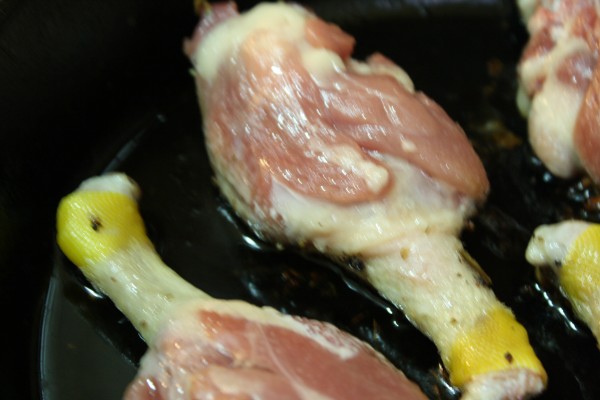
Easy Duck Confit, adapted from the New York Times:

Ingredients:

  • 1 1/2 teaspoons kosher salt
  • 1/2 teaspoon black pepper
  • 1/2 teaspoon dried thyme
  • 1 bay leaf, crumbled
  • 8 moulard duck legs (about 4 pounds total), rinsed and patted dry
Directions,

1. In a small bowl, combine salt, pepper, thyme, and bay leaf. I crushed them together with my mortar and pestle, but you don’t really have to.

2. Sprinkle duck with mixture and place in pan in one layer. Refrigerate for 24 hours.

3. The next day: preheat oven to 325 degrees.

4. Place duck legs, fat side down, in a large ovenproof skillet, with legs fitting in one layer (or do it in batches – you don’t want to steam them!)

5. Heat over medium-high heat until fat starts to render.

6. When there is 1/4 inch of fat on the bottom of the pan, after about 20 minutes, flip the duck legs, cover the pan with foil, and place in the oven. (If you used two skillets or did this in batches, place in baking dish together and cover).

7. Roast for two hours, then remove foil and roast for another hour, until the skin is golden brown and crispy.

8. Remove duck fat and reserve for other uses.

9. Serve with bitter salad greens, potatoes, or wide egg noodles.

Meatless Mondays: Ades (Red Lentil) Soup

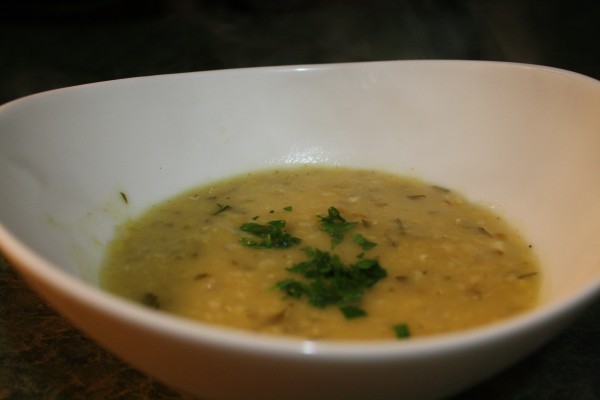
You already know we like to transform boring lentils into yummy meals. Here’s one of our favorite recipes, delicious and filling for a Meatless Monday!

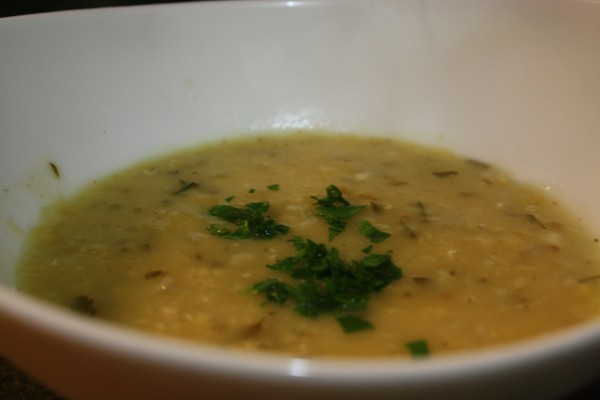
Ades soup is a classic Syrian dish. These red lentils turn yellow when boiled, and often confuses people who’ve never seen the soup before (“Wait, I thought you said RED lentil soup. This is yellow!”). It’s an easy and comforting dish you can make on a chilly winter evening and that you can enjoy for lunch the next day. The first time I made this dish was in college, and my roommates were not to keen on tasting it (I don’t know why!). Lucky me! I ate a lot of soup that week.

It’s flavored with coriander and cilantro, one of my favorite flavors. If you don’t like cilantro, just use parsley instead. Or leave it out, this soup has enough flavor on its own. To add some extra flavor, use vegetable or chicken stock in place of the water.

Ades Soup, or Syrian Red Lentil Soup, adapted from here and some family traditions:

Ingredients:

  • 2 tablespoons olive oil
  • 1 tablespoon ground coriander
  • 1 red onion
  • 4 cloves garlic
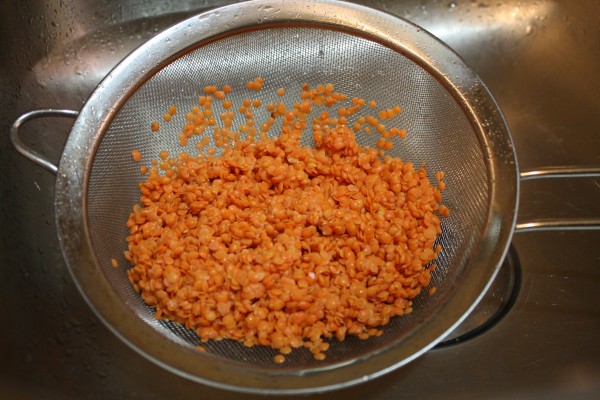
  • 1 cup split red lentils, rinsed
  • 6 cups water
  • 1/4 cup flour
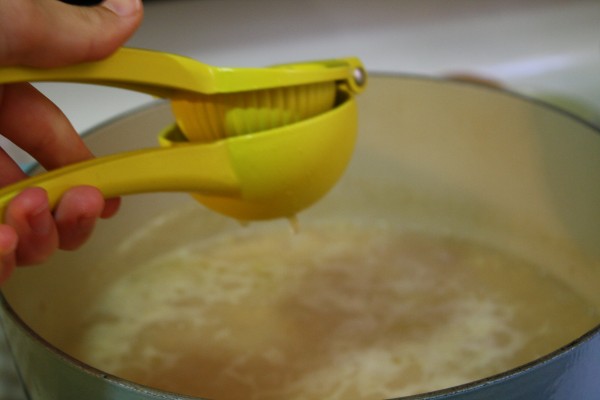
  • 1/4 cup freshly squeezed lemon juice
  • Kosher salt, to taste
  • 1/4 cup chopped cilantro
  • 1 1/2 teaspoons ground cumin
  • Pinch of cayenne pepper

Directions:

1. Heat a large saucepan over medium heat and add oil.

2. When the oil is hot, add the coriander and let cook for about one minute.

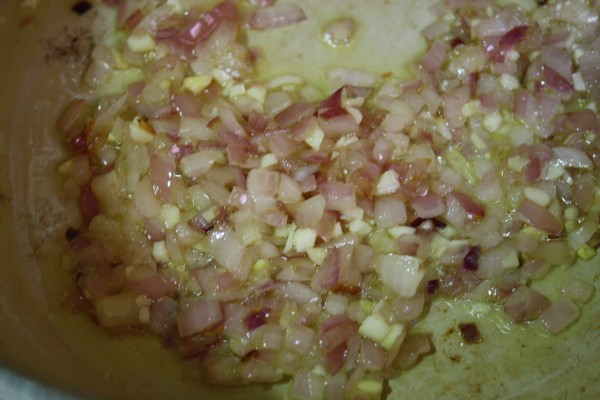
3. Then, add onions and garlic. Add some kosher salt. Stir and cook for about 10 minutes, until onions soften.

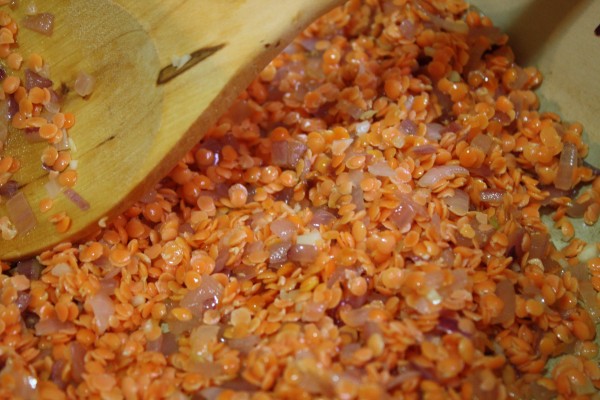
4. Add the lentils to the pot. Mix and coat them with oil.

5. Add 5 cups of water and bring the mixture to a boil. Lower the heat and simmer for 5 minutes.

6. Meanwhile, mix flour with the remaining cup of water to make a paste. Add to the lentils.

7. Stir in the lemon juice and some more salt. Continue stirring over high heat until the mixture boils. Then, cover and cook another 15 minutes.

8. Add the cumin and cayenne. Mix well. Taste for salt and add more if needed.

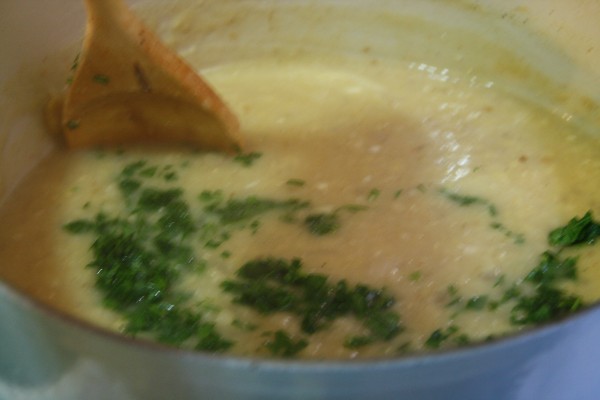
9. Then add the cilantro. Serve with some lemon wedges and more chopped cilantro on top, if desired.

Grandma Sally Makes Keskesoon

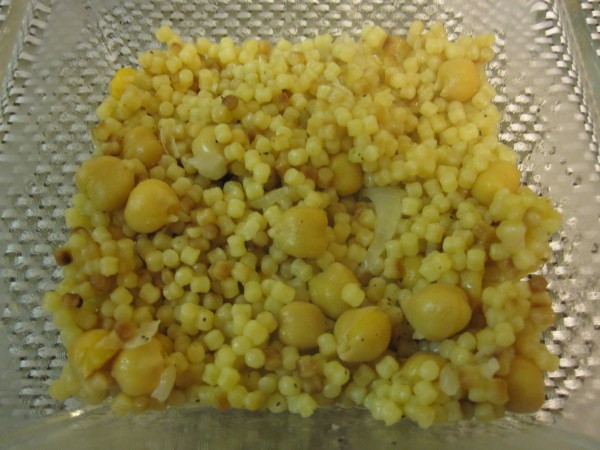
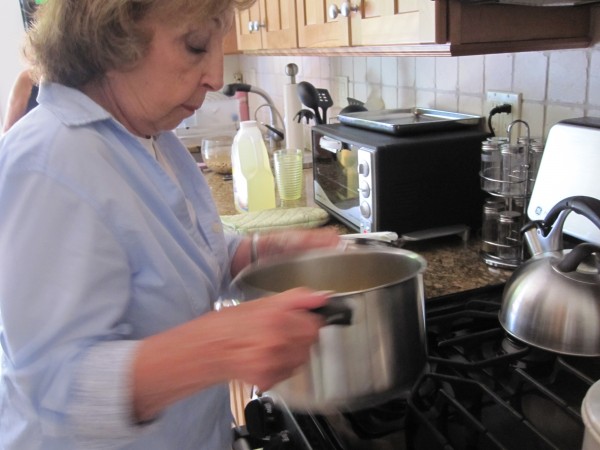
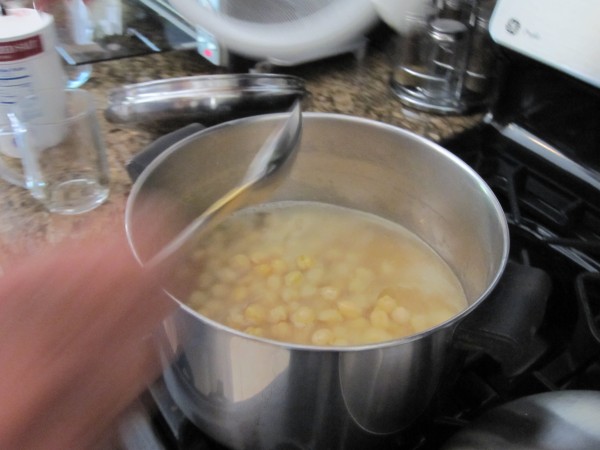
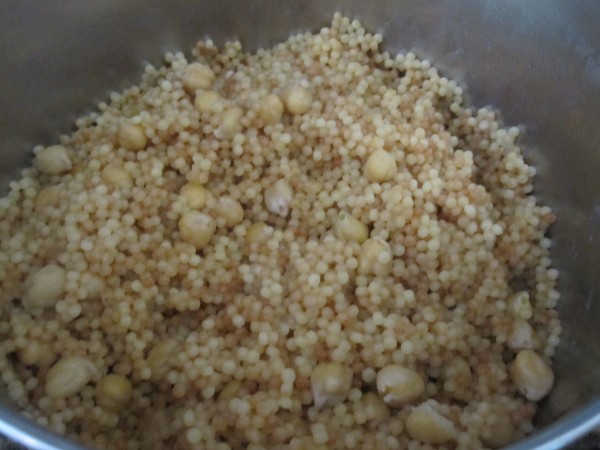
Here’s something you should definitely put on your Shabbat menu for tonight: Keskesoon is not a complicated dish. In fact, it’s really just a pasta dish with chick peas in it. But no one makes it better than Grandma Sally, which is why we invited her to our kitchen JUST to make her specialty.

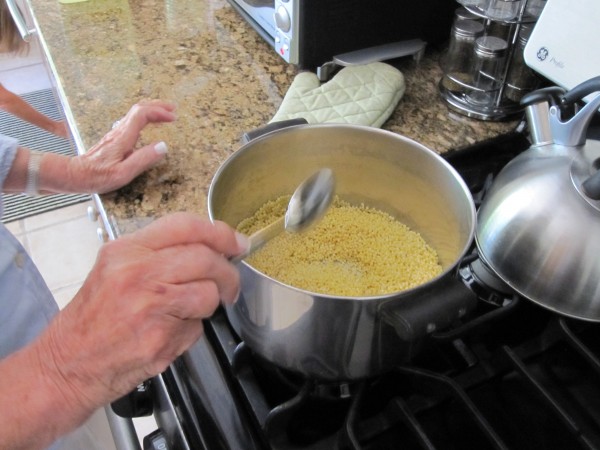
As you will see, the ingredient list isn’t so extensive. You probably have everything on hand, except maybe the teeny pasta, which you will find in most supermarket pasta aisles. Never seen it before? You probably just glanced over it because you prefer little stars in your soup than these crazy peppercorn shaped pastas. These are much better. The secret to this dish is toasting the pasta before adding the water. It adds a nutty flavor that you don’t ever associate with pasta, but just works. It also makes some of the kernels browner than others, which makes it prettier on the plate, of course.
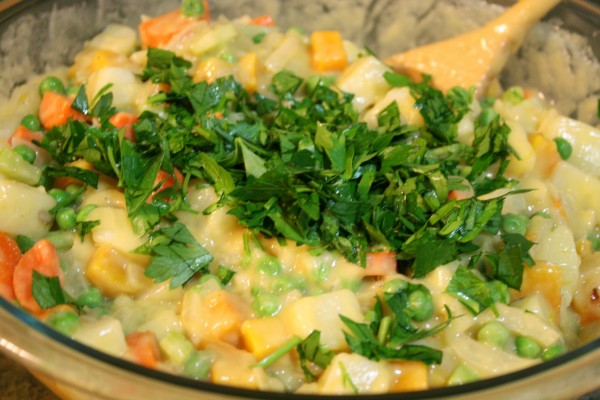
Keskesoon was always a Friday night and holiday staple in my Grandma’s house. We ate in in our chicken soup instead of rice. We put sauce and meatballs (and eggy-surprise!) over it. We used it as a base for our Hamud, peas and kibbe, and kibbe mushroom. Basically, you won’t run out of ways to eat this stuff. Some people even enjoy it plain, and why not?

My family really only eats this with meat meals. We always make it pareve, and with oil. When I consulted Deal Delights (the red one) for the recipe, I was surprised to find how different their recipe is from ours! Theirs calls for about 6 tablespoons of butter, and baking it in a dish with grated cheese on top – keskesoon, mac and cheese style, sounds awesome. They also spell it keskasoon. I guess since it’s not an English word there is no one proper way to spell it. One day I will have to try that version, but for now I’m sticking to our traditional way of eating and spelling. How does your family make keskesoon?

Keskesoon, recipe adapted from Grandma:

Ingredients:

  • 1 box acini di pepe pasta, #44
  • 4 tablespoons vegetable oil
  • 1 can chick peas
  • 3 1/2 cups water
  • Salt

Directions:

1. Place a medium saucepan over medium heat and add the vegetable oil.

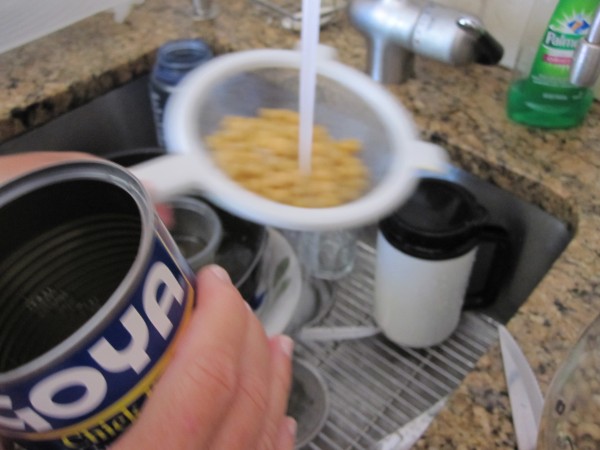
2. Open the can of chickpeas. Drain and rinse.

3. When the oil is hot, add the pasta. Swirl and mix, making sure each piece is coated in oil. Stir constantly until toasted.

4. Add the water and the chickpeas.

5. Bring to a boil, then lower, and simmer, covered, for about 15 minutes, until the water is absorbed.