Spiced Candied Cashews

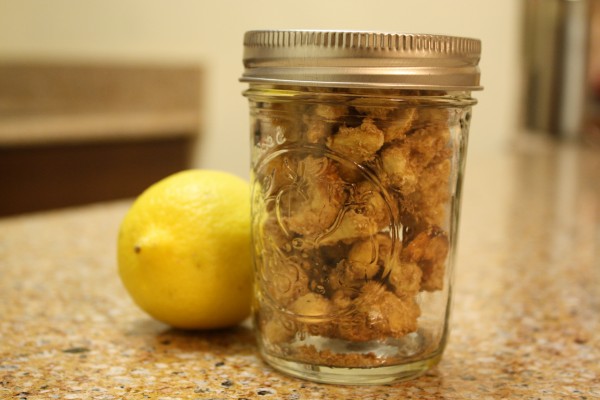
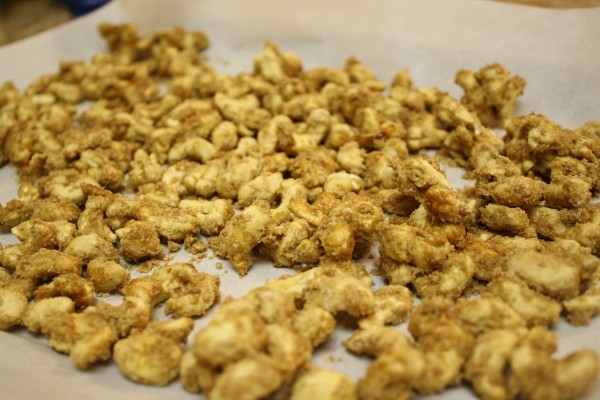
So you know when you walk by those Nuts 4 Nuts carts in Manhattan and they smell so amazingly good that you finally cave in and buy them, only to realized that you wasted two dollars on something that smells 1000 times better than it tastes? Why do they not taste like they smell? I decided to take matters into my own hands. These subtly spiced candied cashews made my apartment smell amazing and they made my taste buds happy. Take that, nuts that you buy from a cart on the street (when you put it that way, I’m not so surprised…)!

I had all of these leftover cashews from when I made cashew chicken. I also wanted something to munch on. These candied cashews come together so quickly and easily (maybe 15 minutes), as long as you have cashews around, you’re good to go. Or else try them with other nuts. They’re very similar to the peanuts that Jessica made, but I played around with the spices and the sugars.

Candied Cashews

Ingredients:

  • 2 cups raw unsalted cashews
  • 1 cup brown sugar
  • 1 cup water
  • 1/2 tablespoon cinnamon
  • 1/2 teaspoon freshly ground nutmeg
  • 1 teaspoon salt

Directions:

  1. Line a baking sheet with parchment  paper.
  2. Mix the spices together.
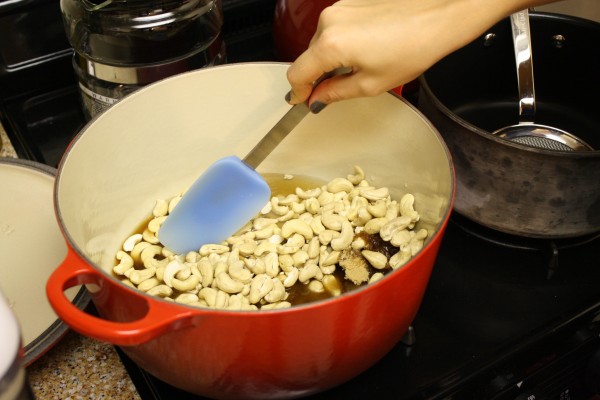
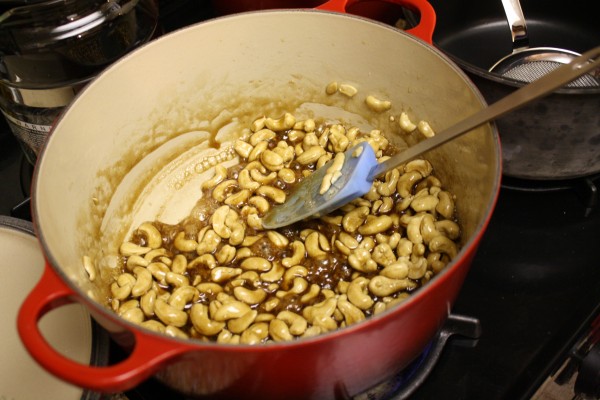
  3. In a large skillet over high heat, mix the nuts, sugar and water. Stir frequently and bring to a boil. Continue stirring; the liquid should evaporate and turn into a syrupy consistency. This should take about 10 minutes.
  4. Sprinkle the spices over the nuts and stir vigorously, letting the water completely evaporate, for about 4 minutes.
  5. Turn off the heat and continue stirring until the nuts are coated in the crystallized sugar.
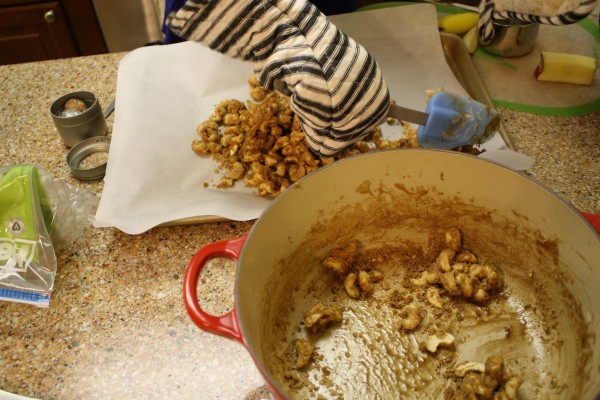
  6. Carefully pour the nuts out onto the baking sheet to let cool.

Cashew Chicken

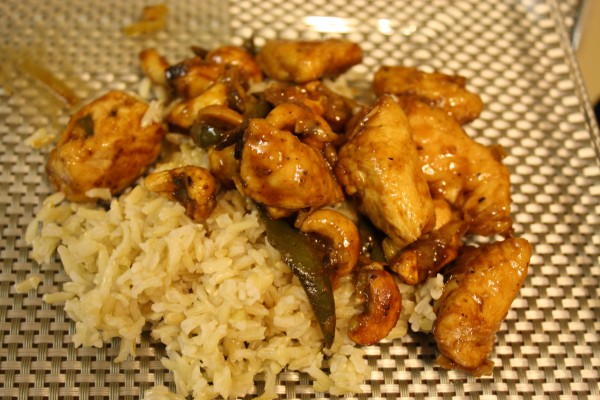
For some reason I was really craving Chinese food. So I found this recipe, printed it out and hung it up on my fridge. I went to Trader Joe’s and I bought a bag of cashews. I found kosher hoisin sauce. I defrosted some chicken cutlets that had been hanging out in my freezer. And now dinner for the next night was planned and prepared, so I went out for dinner with some friends. When I came home, I discovered that David cooked the chicken for dinner tomorrow! And we didn’t have any more cutlets, but we had plenty of chicken! So I didn’t want to shop for more chicken. So I gave up, the rest of the ingredients all sat unused and unloved in the kitchen and the recipe stuck to my fridge. Until one day I decided to buy chicken cutlets again and make cashew chicken for dinner!

Why am I telling you all of this? Well, I don’t want you to make the same mistake I did. Make this chicken! It comes together really quickly, it’s healthy (add more veggies when cooking to make it even healthier!) and the leftovers make a great lunch.

Next time I have a craving for something new, I think I’ll try sweet and sour chicken.

Cashew Chicken slightly adapted from Thyme for Wine

Ingredients:

  • 1 1/2 lbs. boneless, skinless chicken breast, cut into 1” cubes
  • 1 tablespoon cornstarch
  • salt and pepper
  • 2 tablespoon vegetable oil, divided
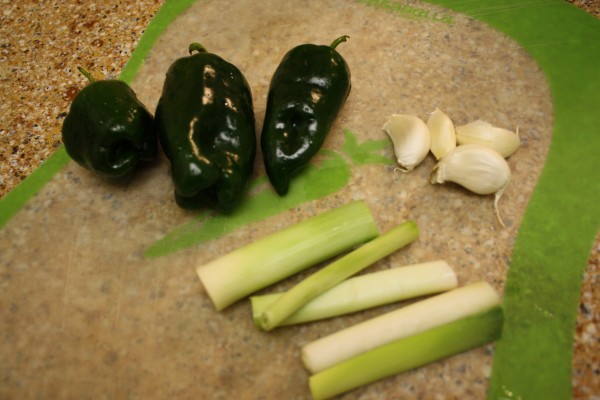
  • 4 cloves garlic, minced
  • 3 ancho peppers, cut into 1” pieces
  • 5 leeks, cut into 1” pieces (I only had leeks, so I used those instead of scallions, which would make more sense)
  • 2 tablespoon rice vinegar
  • 3 tablespoons hoisin sauce
  • 1/4 cup water
  • 3/4 cup toasted cashews (4 oz)
Directions:
  1. Toss the chicken in the cornstarch in a medium bowl until coated. Season with salt and pepper.
  2. In a large cast iron skillet, heat half the oil over medium-high heat. Cook half the chicken, tossing for about 3 minutes until browned. Transfer to a plate.
  3. Add remaining oil and chicken to the skillet, along with the garlic, green pepper, and leeks. Cook, tossing for another 3 minutes until chicken browns.
  4. Return first batch of chicken to the pan. Add vinegar; cook for about 3o seconds until evaporated. Add hoisin sauce water; cook another minute tossing until chicken is cooked through.
  5. Remove from heat and stir cashews.
  6. Serve immediately over rice.

Shallot Red Wine Steak Sauce

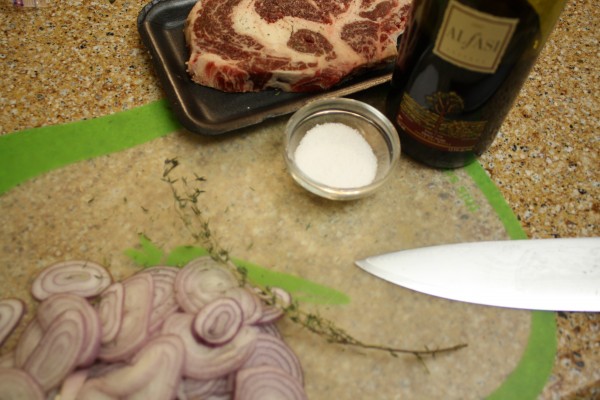
Sometimes I like to cook up a couple of big juicy steaks, mix up a salad, and call it dinner. David likes it, too. But sometimes, plain old steak gets boring. I’m not one to dip my steak in ketchup, but I want something to eat my steak with. Something good. Well, that brings me to our  next recipe: shallot and red wine steak sauce. This whole meal fits together quite nicely, almost like a puzzle where the steak fits into the sauce and then the sauce with the glass of red wine you are drinking with dinner. Because it’s the same wine, you see.

And that is a perfect night at home, good food, a glass of wine and great company.

Shallot & Red Wine Steak Sauce

Ingredients:

  • 2 steaks (make sure they have some fat on them, you’ll need it!)
  • 1 gigantic shallot, or 2 regular sized ones, cut into rings
  • 2 springs of thyme, leaves only
  • 1 cup red wine
  • olive oil
  • salt and pepper to taste

Directions:

  1. Turn on your broiler (this step is optional; you can really cook the whole steaks on the stove, but my tiny apartment + a lot of smoke = angry smoke alarm) and line a baking sheet with tin foil
  2. Sear the steaks in a little bit of olive oil in a heavy-bottomed pan for 4 minutes on each side (you may need to do this one at a time), or whenever they lift up easily. I used my dutch oven, because I have a limited collection of meat cookware.
  3. Remove the steaks to the prepared baking sheet and let them finish cooking in the broiler (or a plate if they’re done).
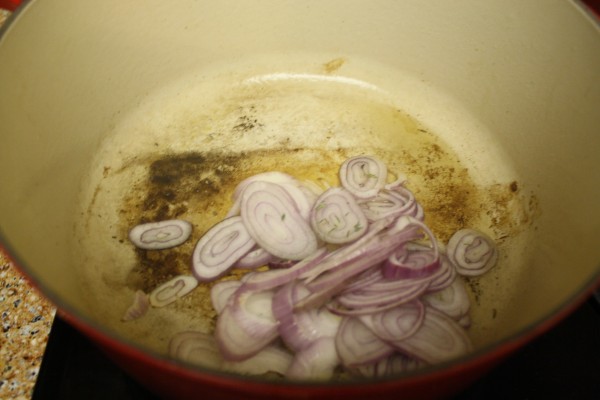
  4. Lower the flame, add the shallots to the pan with a pinch of salt and cook for 8-10 minutes until the shallots cook down and become soft.
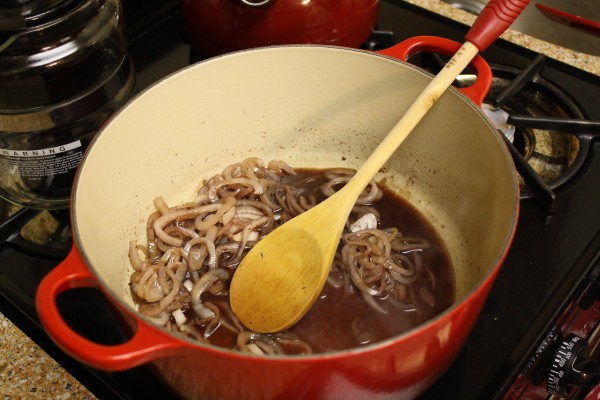
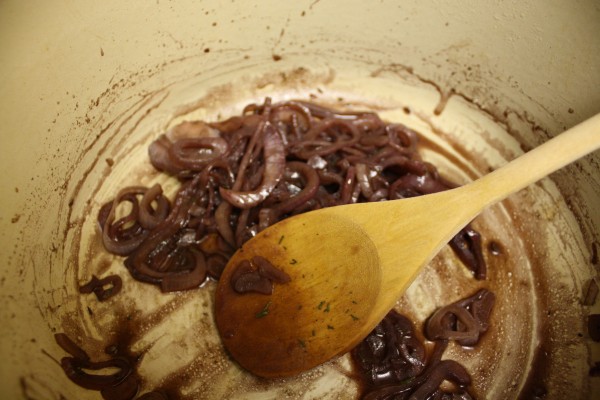
  5. Add the thyme and wine and raise the fire. Reduce the sauce by about half.
  6. Spoon the sauce over the steaks and eat.

Doughnuts

It’s a Hanukkah tradition to eat fried foods, you know, to remind us of the oil that lasted eight days instead of only one. Sufganiot, or jelly doughnuts, are one of the foods that you will always see at a Hanukkah party, along with latkes.

I have to admit, I don’t really eat doughnuts, especially ones filled with jelly or cream. It’s not that they aren’t delicious, they are, but only in theory. The ones you can buy at Dunkin Donuts is just not worth it, and the ones that are filled just have way too much filling to be enjoyed. They’re also too big, too sweet, and not fluffy enough. That’s why I decided to take matters into my own hands and make my own doughnuts. They’re just a soft dough that’s cut into bagel-like shaped and fried, how hard can that be? And what better timing to make them than a family Hanukkah party?

No, I didn’t make the traditional Sufganiot. But they’re still fried in oil, so they’re still Hanukkah worthy. Continue reading

Pink Pickled Turnips and Cauliflower

Happy birthday, Dad (December is a big birthday month for our family)!

And Happy Hanukkah!

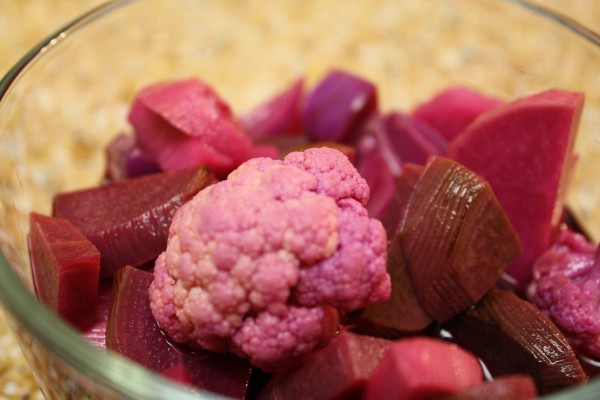
When I read that we would be getting turnips and beets from our final farmshare pickup, I said Awesome, I can pickle the turnips, if only we had some cauliflower… And that Monday, when I went to pick up the vegetables, surprise! We also got to take home a head of cauliflower. So now I had to make these pickles!

Continue reading

Potato Gratin

Before we share a recipe with you, please join us in wishing our sister Rayna a very happy birthday!

And a happy Hanukkah to everyone!

Now, back to food:

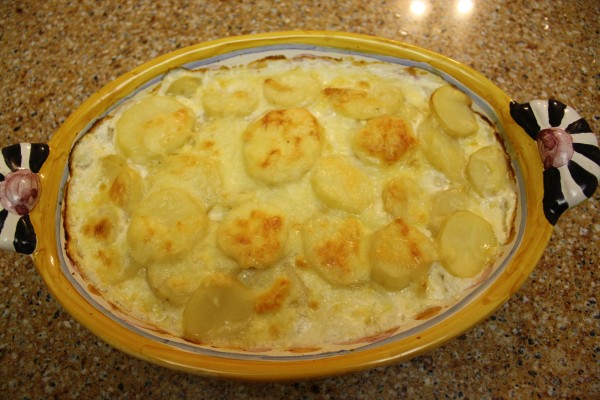
When we were in Ireland, we had the most delicious potato gratin at a little cafe on Inishmore, the largest of a group of islands called the Aran Islands. We had to take a ferry there from where we were staying in the amazing town Doolin, and the water was rough, but this recipe was worth getting seasick on the trip back. We spent the day exploring a place much more remote than the island we live on, seeing beautiful old sites and gorgeous green views! This gratin was one of the only vegetarian things on the menu at the cafe, and one of the few things that didn’t include sausage, which is why we ordered it. After the first bite I asked them how the prepared it; I had to recreate it at home!

The beautiful prehistoric ring fort, Dún Aengus:

Continue reading

Steak Tacos

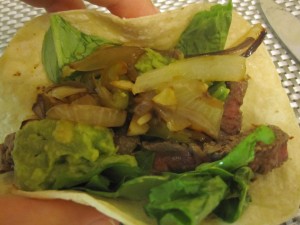
Wednesday is always Mexican night at our house. Well, not officially, but it seems that on Wednesdays we happen to eat tacos. It can be fish tacos, chopped meat or bean tacos, but this time it was steak tacos! And it was delicious.

Tacos don’t photograph that well, but I tried my best to show you what my dinner looked like above.

I marinated two sandwich steaks all day, and when I got home from work I “grilled” them in my cast iron pan before slicing them up and loading them into a tortilla with some complementing flavors.

These steak tacos were fun, and felt a little bit fancier than the chopped meat kinds we usually have on meat taco night, especially since I marinated the beef all day. Sure, it took some extra time before leaving for work, but I’d say it was worth it. It didn’t take that long!

Steak Tacos

Ingredients:

For the steak:

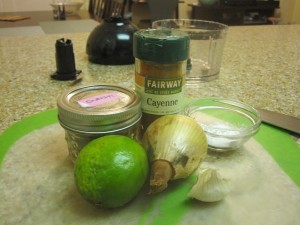
  • 2 sandwich steaks
  • juice of 1 lime
  • 1 small yellow onion
  • 1 clove of garlic
  • 1 tablespoon cumin
  • 1 teaspoon salt
  • 1 teaspoon cayenne pepper
  • a few cracks of black pepper

For the salad:

  • 1 bunch of arugula, cleaned, dried, and chopped
  • a handful of cilantro, cleaned, dried, and chopped
  • 1 green pepper, chopped
  • juice of one lime
  • olive oil
  • salt and pepper

For assembling the tacos:

  • 8″ corn tortillas, toasted over the open flame of your stove – careful not to light them on fire!
  • your favorite salsa, taco sauce or homemade guacamole (I made some of that! I’ll share that recipe with you, too.)
  • sauteed onions and peppers, or whatever else you want to put on top of your taco…

Directions:

For the steak:

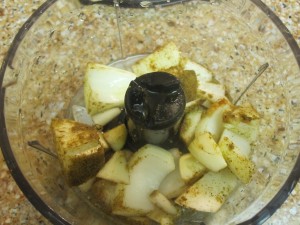
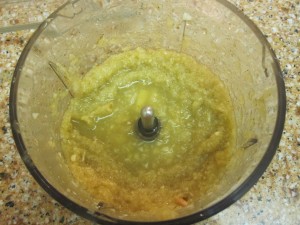
  1. Put all of the spices in a mini food processor (you can use a mortar and pestle) and pulse until it turns into a paste.
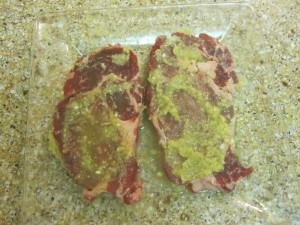
  2. Place steak in a glass dish and cover both sides with the marinade. Cover and let it sit in the fridge for a couple of hours or all day.
  3. Heat a cast iron skillet over high heat. Drizzle with a bit of olive oil and cook the steak, only about 4 minutes on each side. Put on a plate and let sit for 10 minutes.
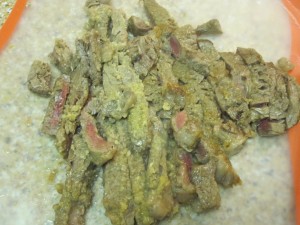
  4. Cut the steaks in thin strips against the grain.

For the salad:

  1. Add lime juice, salt and pepper to a small bowl. Whisk in some olive oil to make the dressing.
  2. Combine arugula, cilantro and peppers in a bigger bowl. Add dressing and toss to coat.

Assemble your tacos:

  1. After heating the tortillas, place them on a place. Smear some salsa or guac and place a few strips of steak on top. Finish with some salad on top, fold and eat! Don’t forget extra napkins!

So, what’s your favorite kind of taco? Do you prefer the meat kind, or do you miss melty cheese and sour cream too much, and prefer bean tacos?

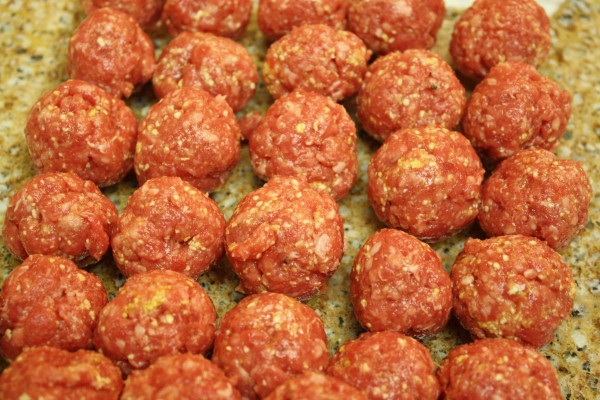
Keftes, or Syrian Meatballs

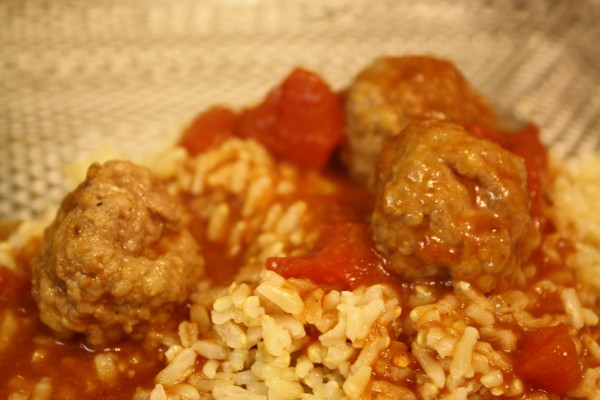
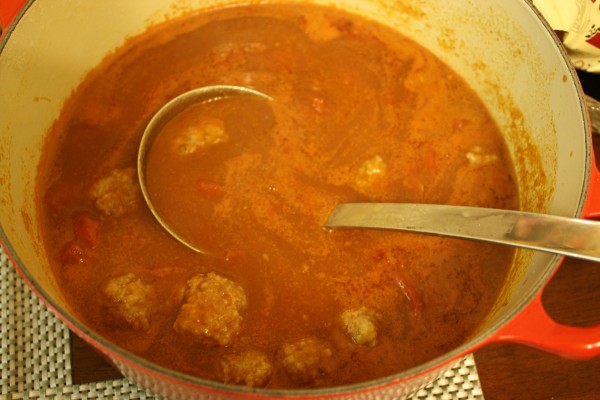
These little Syrian meatballs are totally different from the ones we eat on top of spaghetti. Keftes tend to be smaller and are cooked in a sweet and sour tomato-based sauce and are eaten over rice. They’re one of my favorite Syrian dishes, and though they’re usually served as part of a whole spread of meats, salads and vegetables (sometimes they’re not even the only serve-over-rice dish), I like to make them the main event on a weeknight!

Keftes, or Syrian Meatballs

Ingredients:

For the keftes:

  • 1 lb chopped meat
  • 1 egg
  • 2 tablespoons matzah meal
  • salt and pepper

For the sauce:

  • 2 (14 oz.) cans tomato sauce
  • juice of 1 lemon
  • 2 tablespoons tamarind paste
  • 1 cup water
  • 1 teaspoons sugar
  • salt to taste

Directions:

  1. Mix all of the ingredients for the keftes together and form into balls, about 2 tablespoons in size.
  2. Brown the meatballs in a little bit of olive oil in a pot.
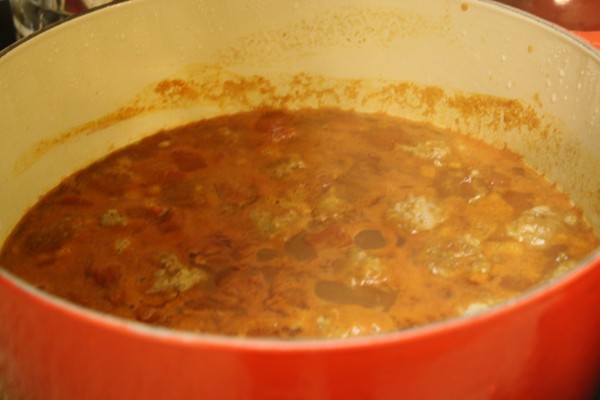
  3. Add all of the sauce ingredients, mix well and bring to a boil.
  4. Lower the fire, cover and let simmer for 40 minutes to an hour, making sure the keftes are cooked through.
  5. Serve over rice.

Oh, and happy birthday Rebekah!

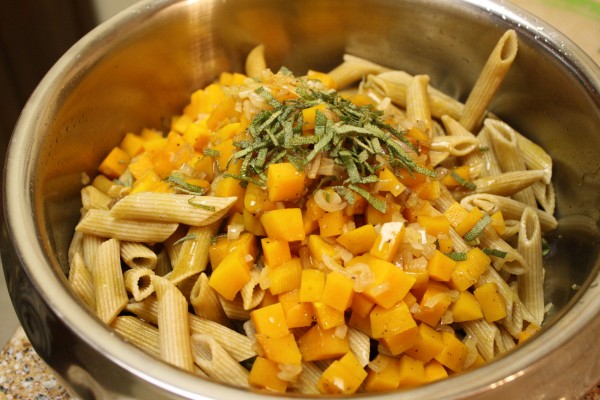
Winter Squash Penne: Check Our Our Guest Post on Kosher in the Kitch!

Now that it’s November, we’ve been getting a lot of winter squash from the CSA. You may remember my zucchini overload this summer, which I turned into a pasta dish, but winter squash is a totally different vegetable (and butternut is our favorite), so we created a pasta and squash dish just for these chilly months.

Head on over to Kosher in the Kitch for our Winter Squash Penne recipe!

(You may remember them from when we shared our Kosher Pad Thai there.)